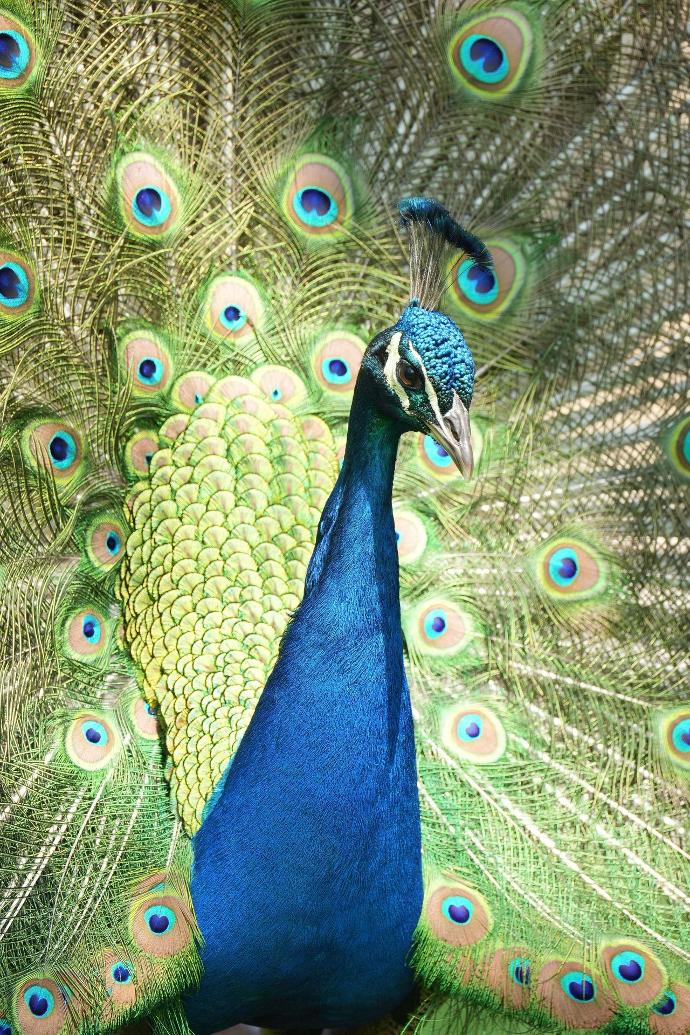
Colour is one of the most important elements in retouches. Once you grasp the fundamentals, you'll be adjusting hues and tones with confidence.
First of all, learn about color temperature. Warm colors like red, orange and yellow advance in images, while cool colors like blue, green and purple recede. Adjusting color temperature can dramatically impact the overall feel and depth of an image. Combining colors purposefully in your retouching will elicit the right emotional response in viewers.
Mastering Exposure.
When it comes to exposure and contrast, the possibilities are endless.
- Adjusting Exposure: Too dark? Too bright? No problem! Slide the exposure it to the lighter side, or the darker side.
- Adjusting the contrast: Feeling dramatic? Crank that contrast! Increase it to make the bright areas brighter and the dark areas darker. Decrease for a softer, more faded look. For high impact portraits, bump up the contrast. For dreamy landscapes, ease off a bit.
|
|
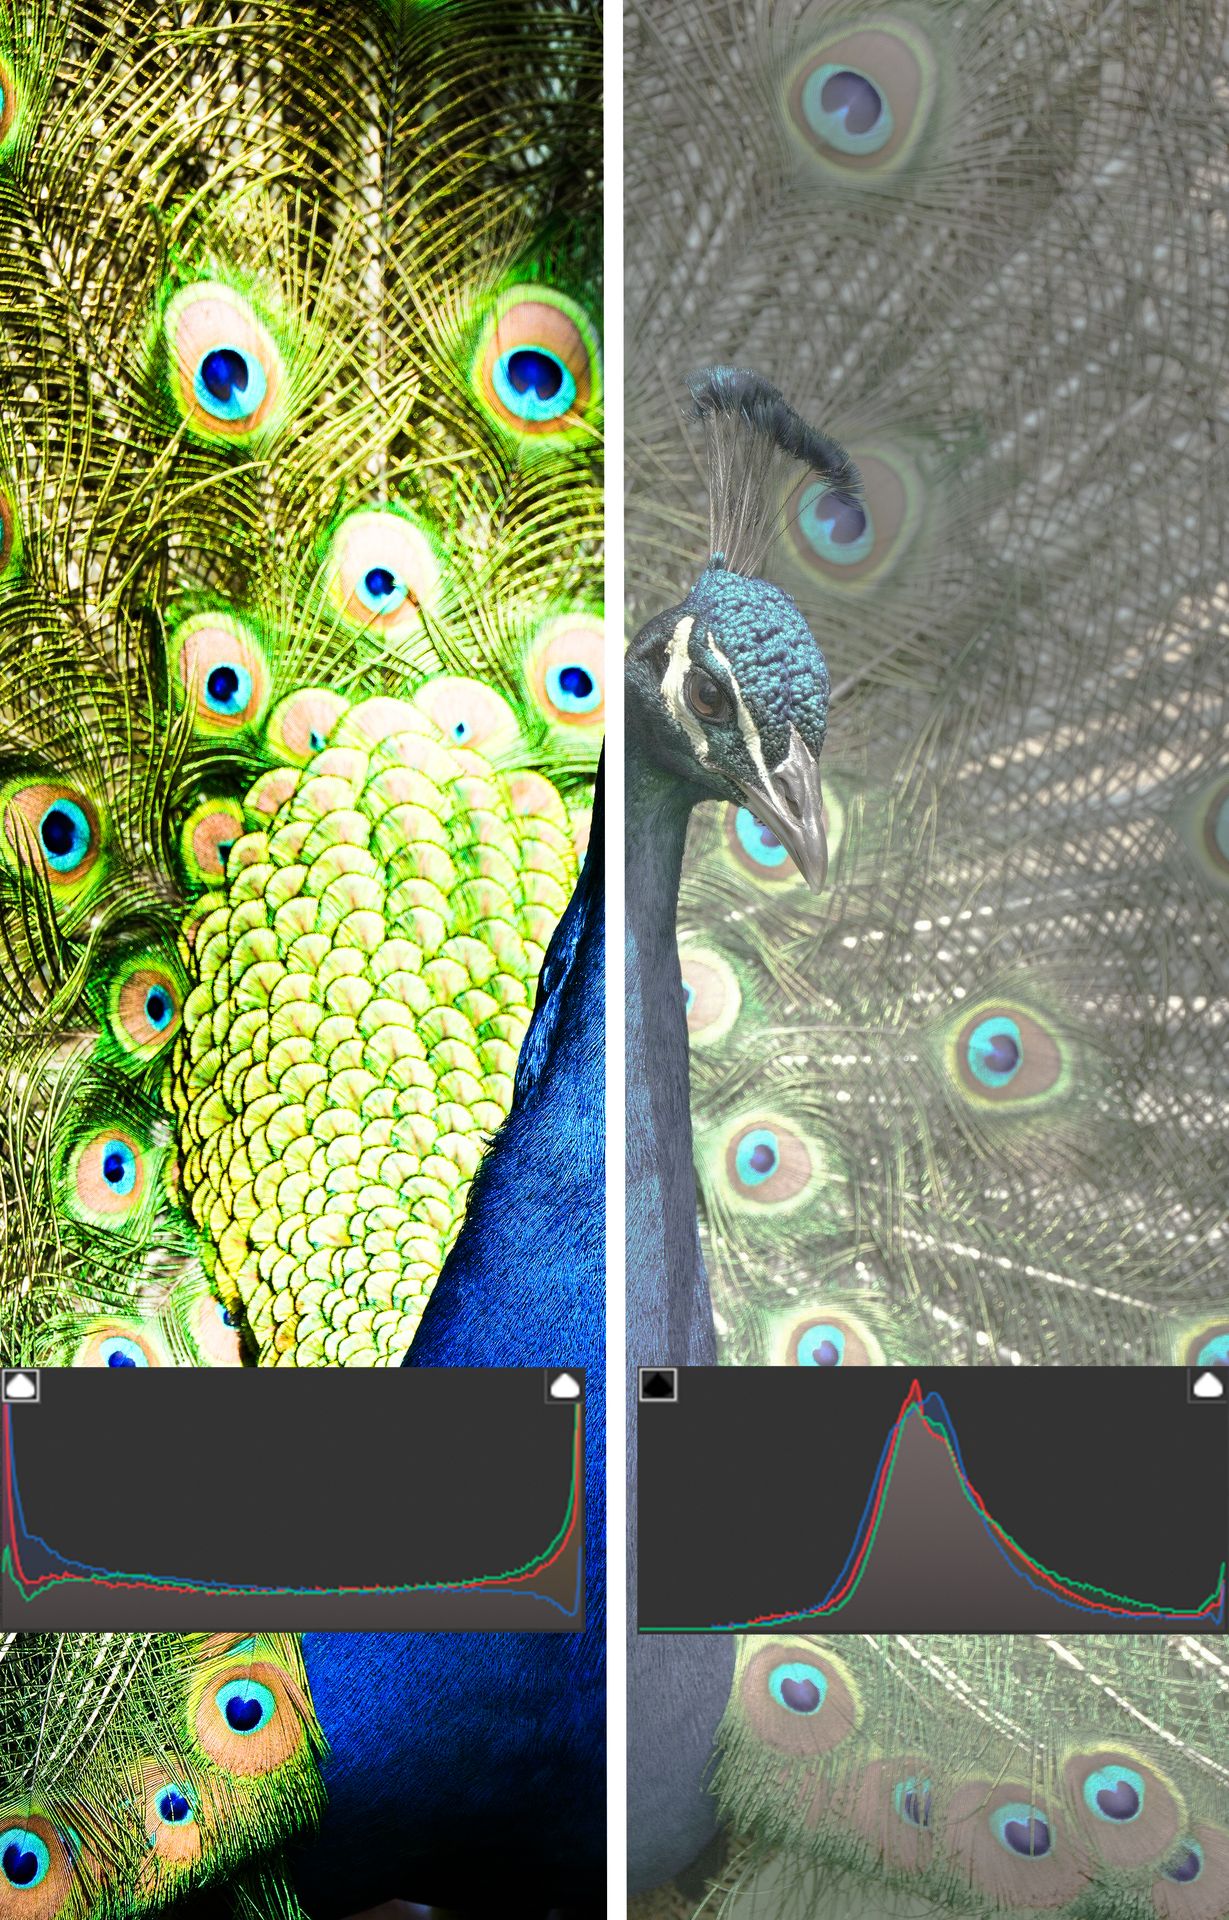
Work with curves if you want the ultimate control over exposure and contrast, the curve line lets you adjust shadows, midtones and highlights independently. Drag the line down to darken, up to lighten.
Too dark - Too bright
Adjusting Exposure
Adjusting the contrast
Using a combination of these tools, you’ll be creating images that make an impact in no time.
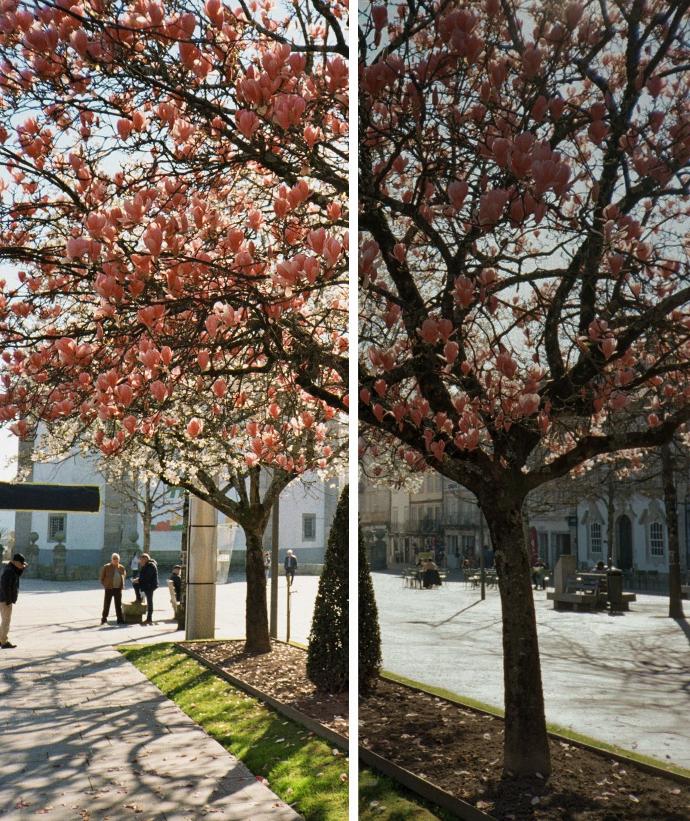
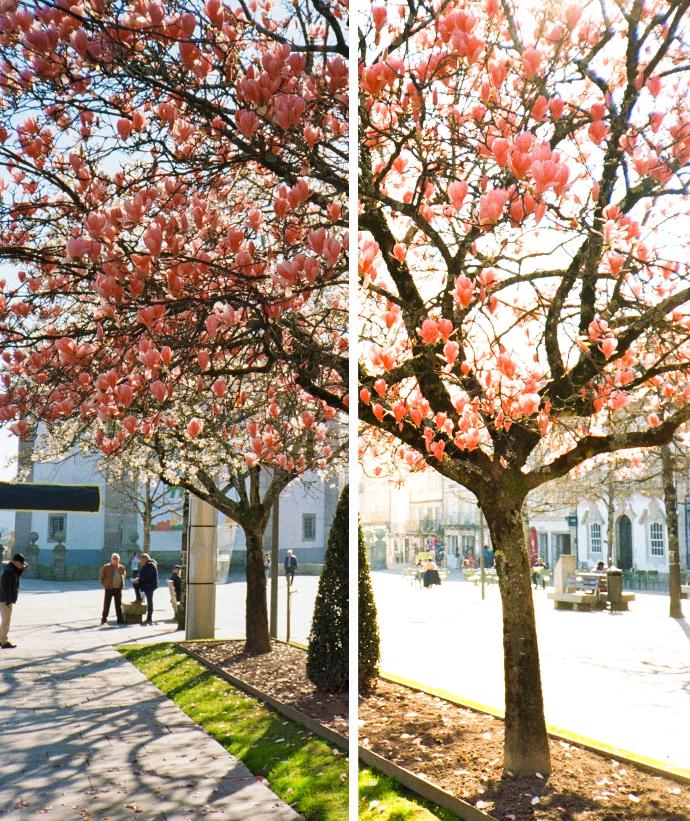
Fixing White Balance Issues
Fixing white balance issues is one of the most important techniques to master for professional photo retouching. When the white balance is off, your images can look unnatural and lack vibrancy.
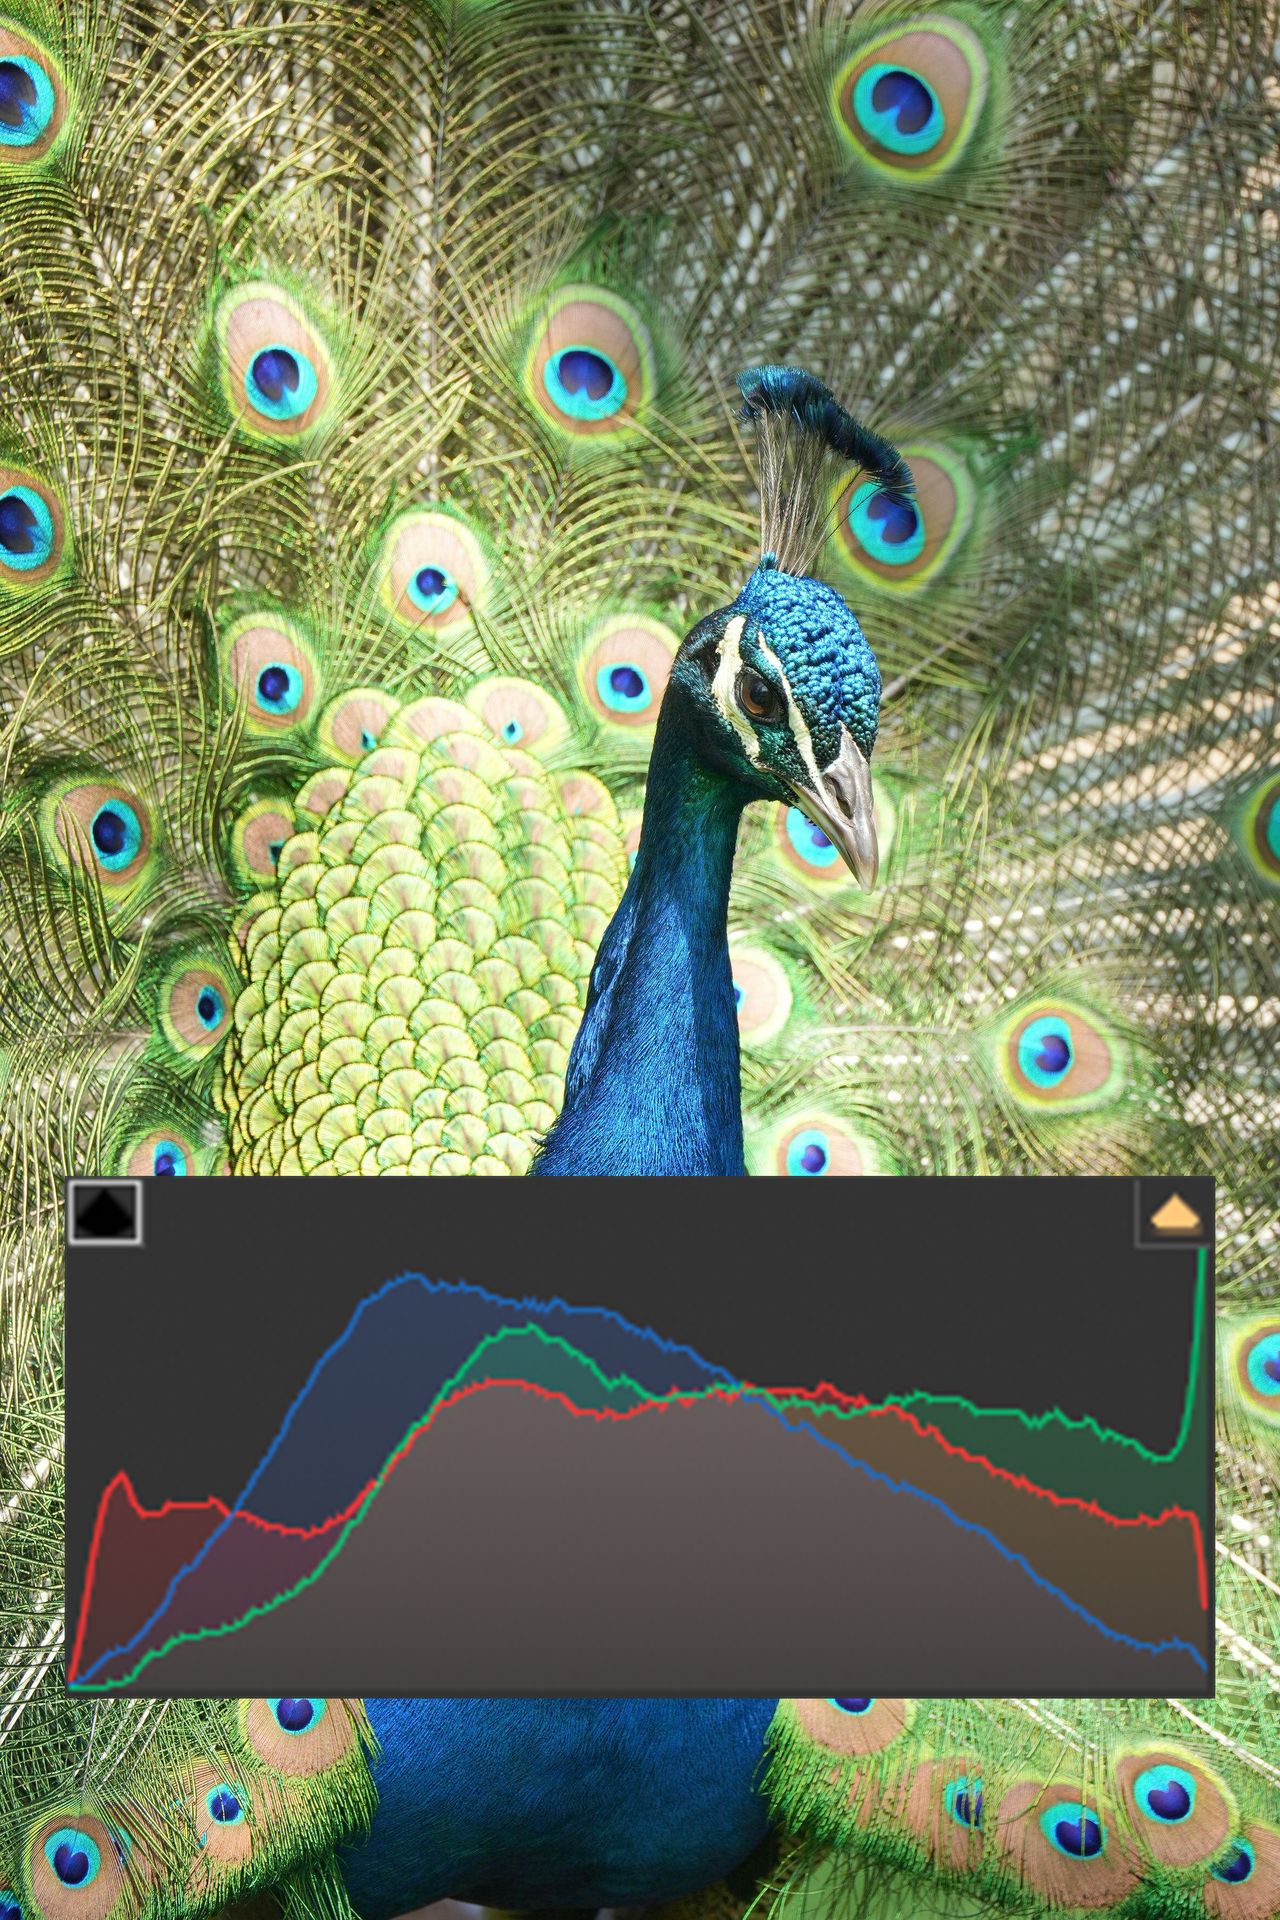
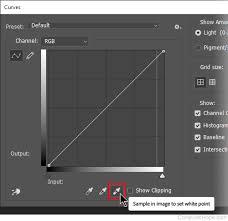
- White Balance: To start, create a new Curves adjustment layer, select ‘White Balance' and grab the eye dropper tool and click an area in your photo that should be white or neutral gray. Photoshop will automatically adjust the temperature and tint to neutralize the color.
If there are no suitable neutral areas, you’ll need to adjust the temperature and tint sliders manually. Warm up a photo by increasing the temperature, or cool it down by decreasing. Adjust the tint slider left or right to compensate for a green or magenta color cast. Compare your edits with the original image to ensure skin tones and other colors still look natural.

- An alternative is to use the Color Balance adjustment layer: adjust the sliders for Shadows, Midtones and Highlights. Shift colors towards green, magenta and blue to neutralize unwanted color casts. Start with larger adjustments, then make smaller tweaks.

For comprehensive control, create a Curves and Color Balance layer. In Curves, click multiple points along the diagonal line and drag up or down to adjust brightness at different points. In Color Balance, adjust sliders for Shadows, Midtones and Highlights. Compare with the original and adjust as needed.
Selective Adjustments
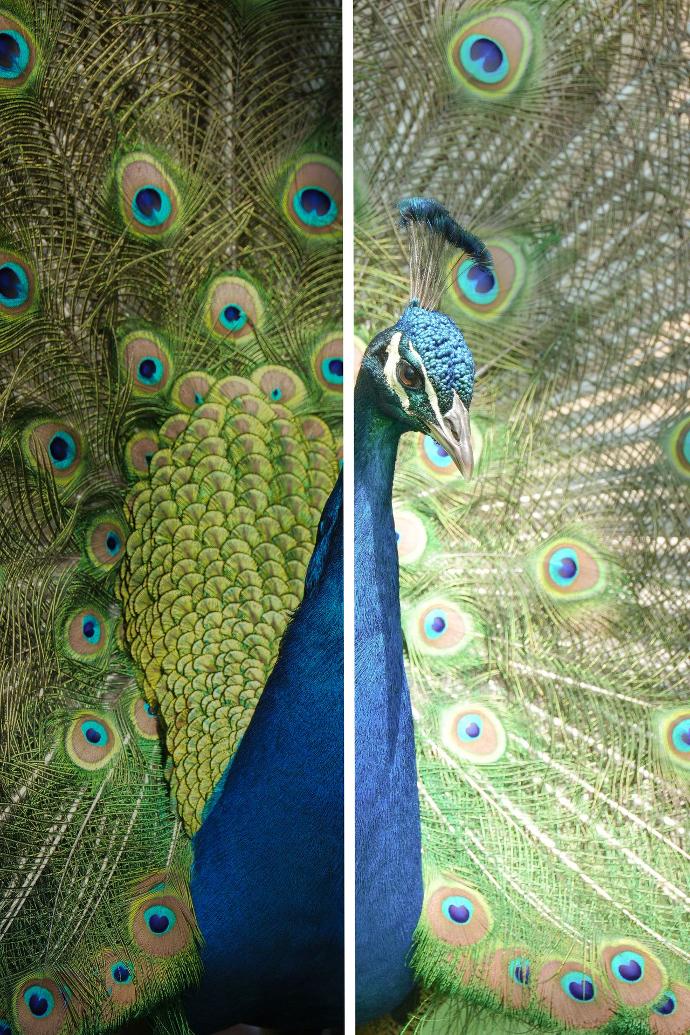
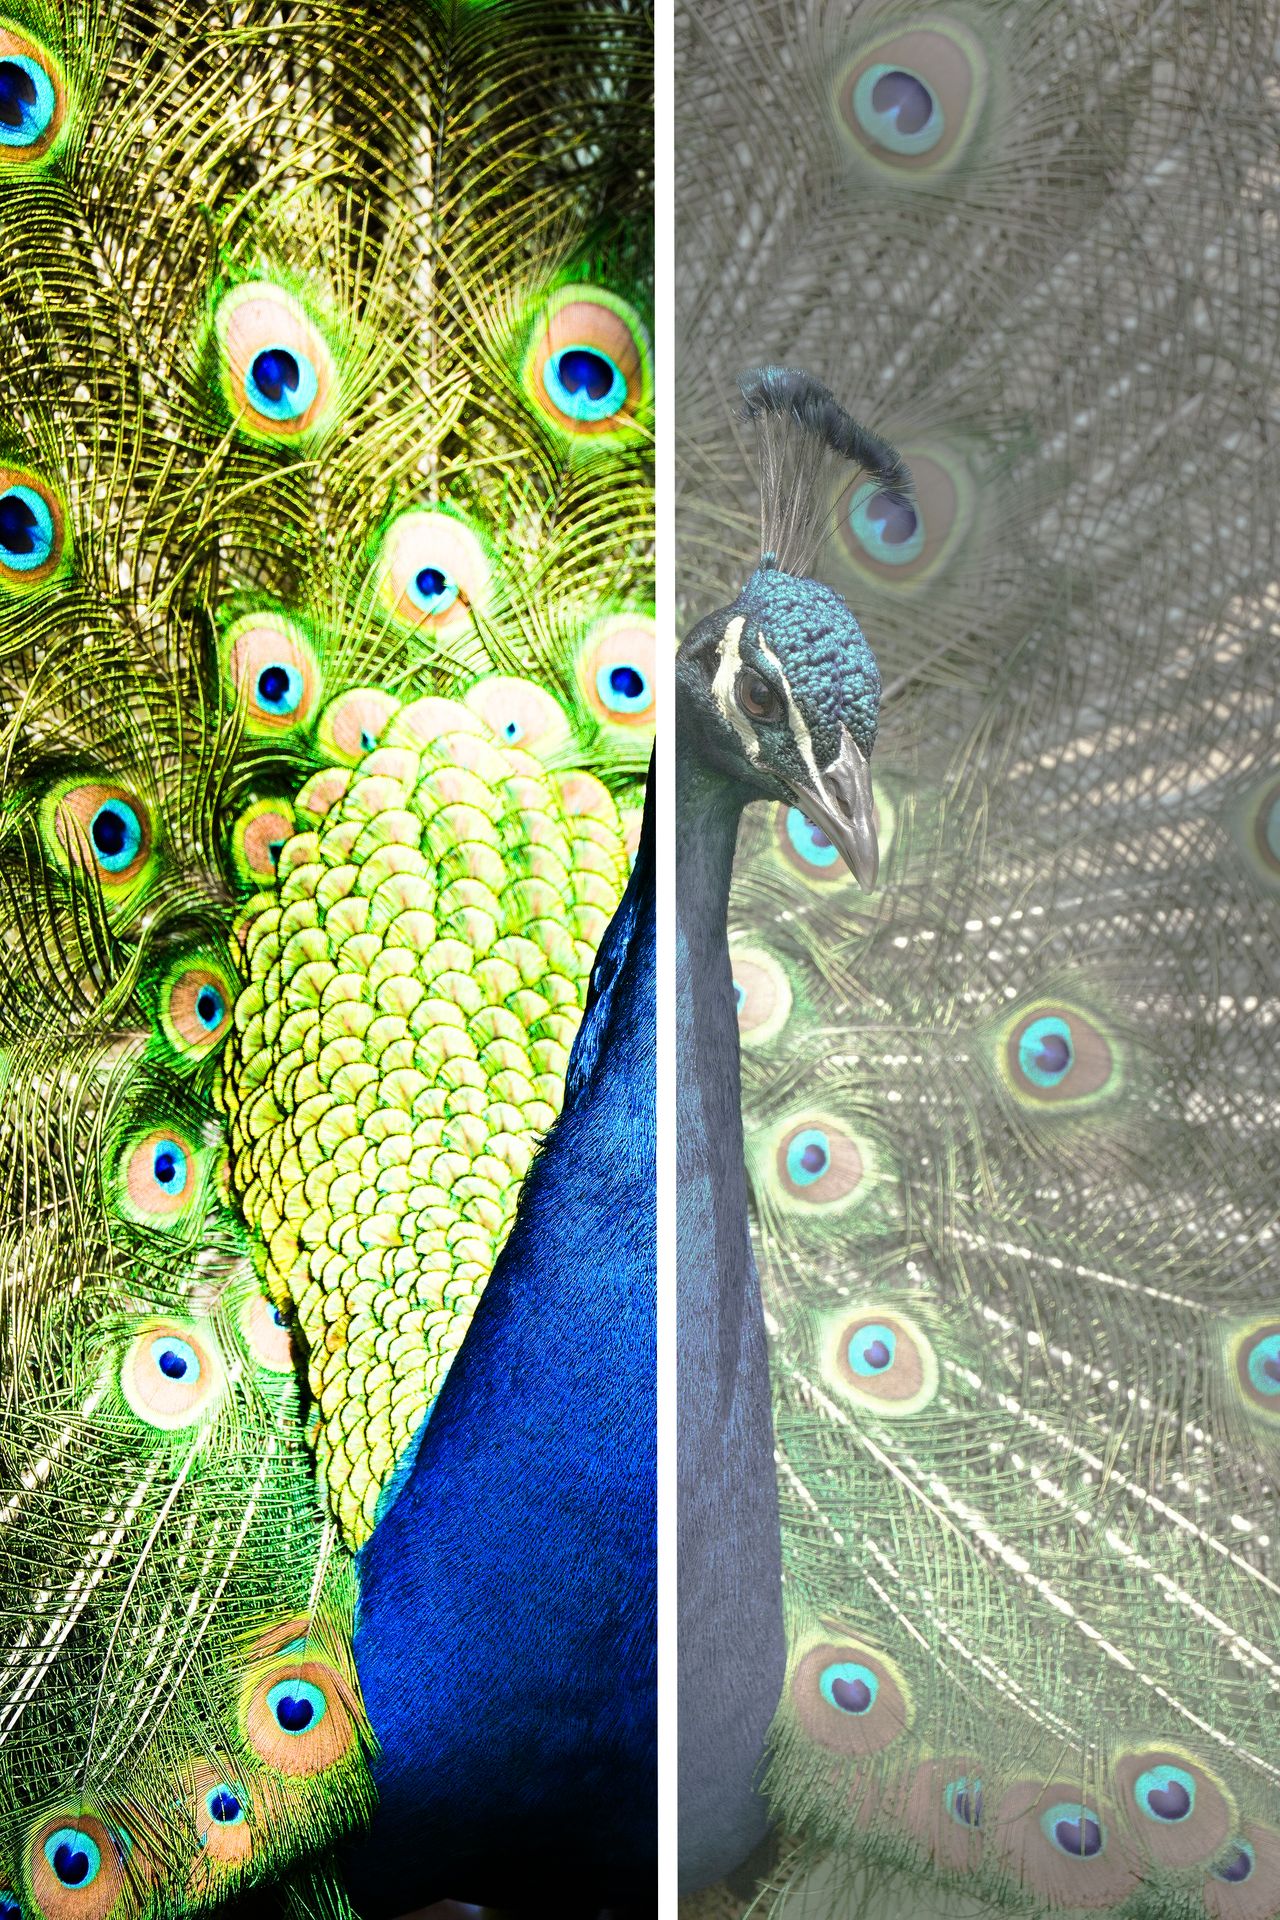
There’s nothing quite like boosting vibrancy to make an image pop. The secret is using selective adjustments, tweaking specific color ranges without affecting the overall tone.
- Boosting Vibrancy: Increase the Vibrancy slider to boost intensity of all colors equally. Start with +5 to +15 and go from there. This enhances saturation in a lively, dynamic way.
- Intensifying Specific Hues: Use the HSL (Hue, Saturation, Luminance) panel to target particular color families. Drag the Saturation slider for reds, oranges, or yellows to make a sunset more dramatic. Bump up blues and cyans to intensify a sky. Subtly increase greens for lush, verdant landscapes.
- Dodging and Burning: Selectively lighten and darken areas of your photo for greater contrast and dimension. Use the Dodge and Burn tools with a low Exposure, around 10-15%. Lightly dodge highlights like the edges of petals or clouds to increase glow. Gently burn shadows to enhance depth and definition. Work slowly and build up effects with multiple strokes.
Don’t be afraid to push sliders and try different techniques.
Enjoy reading and have a good photo editing!
Do not worry if you forget something,
here you can find all the manuals
All the Tricks of Colour and Exposure