Are you ready to take your retouching skills to the next level?
Retouching may seem complicated, but avoiding some common mistakes is easier than you think.
The secrets to flawless retouching are right at your fingertips - let's dive in!
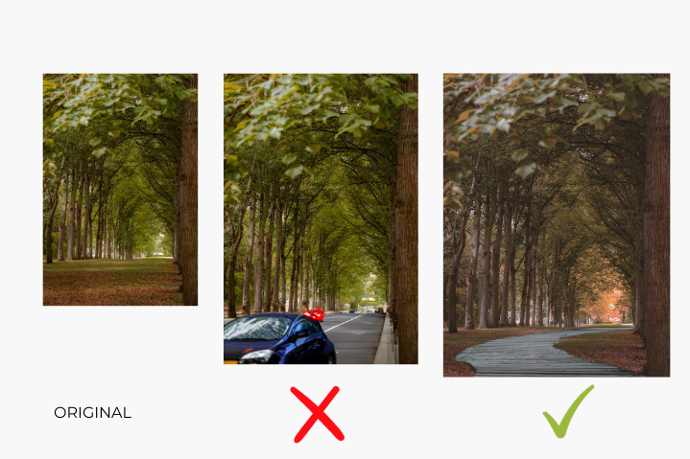
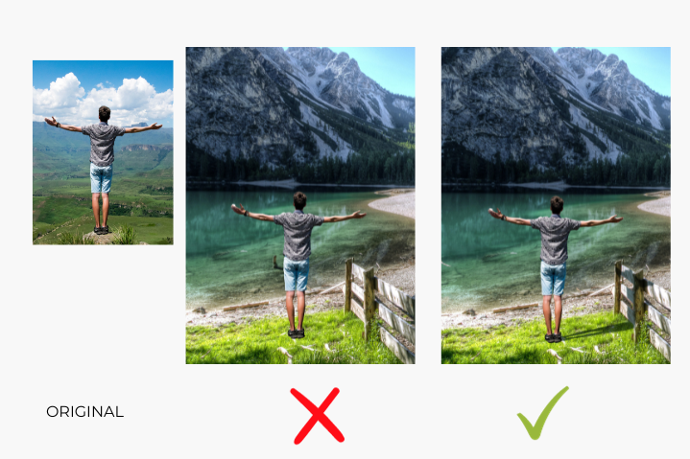
Steer clear of the “sticker effect"
The sticker effect occurs when an object looks cut out and pasted onto the background. Make sure to blend edges and match tones. Also, pay attention to shadows - if the lighting is off, it won't look natural.
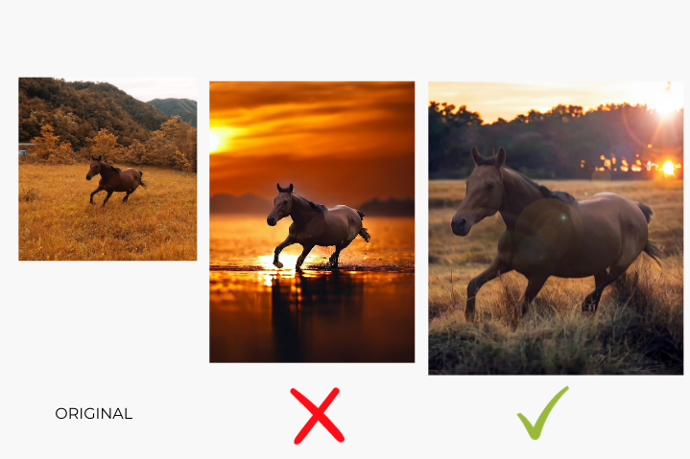
- First, pay attention to lighting: make sure the lighting on your subject matches the ambient lighting of the scene. Use tools like the Dodge and Burn tools to subtly adjust the lighting. You want your subject to blend right in!
- Second, add shadows: drop shadows, ambient occlusion, and inner shadows help ground your subject to the background. Even slightly darkening areas where your subject meets the background can make a big difference.
- Finally, use blending modes: overlay, soft light, and color dodge are great for brightening your subject. Multiply and color burn work well for darkening. play around with different blending modes and opacities to get the most natural look.
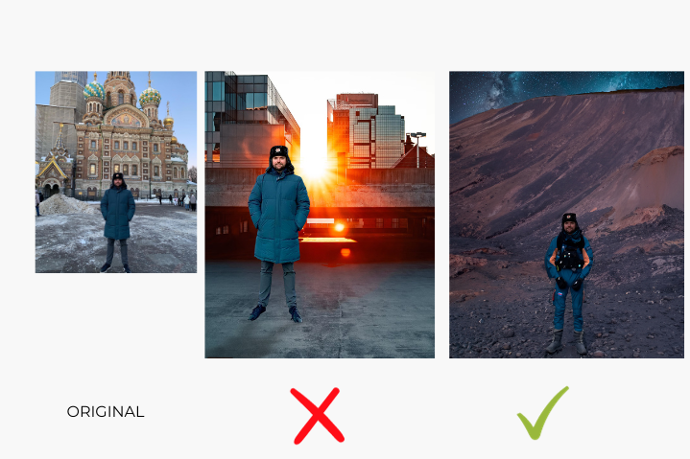
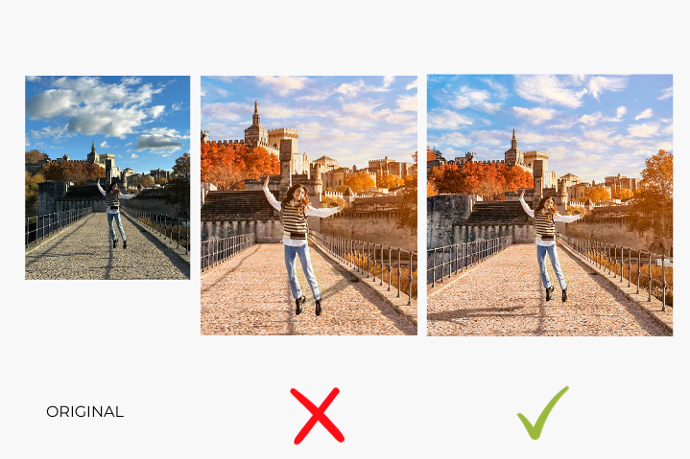
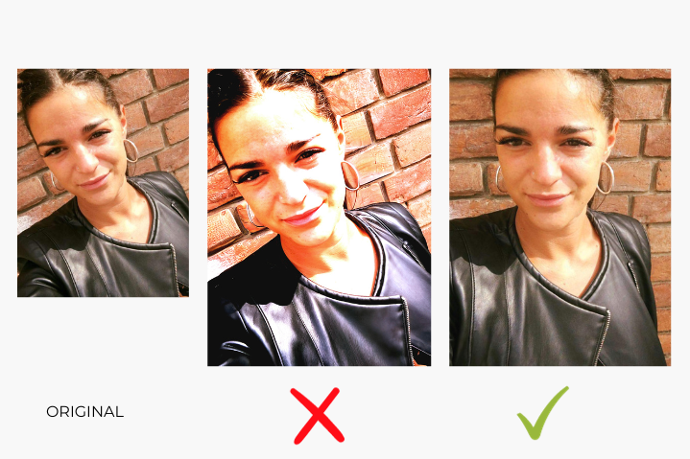
Wrong Shadows
Look for variations in color temperature and brightness, especially on skin. Use adjustment layers and masks to even things out. Your subject will thank you for it!
Lights and shadows must go in parallel, a good balance between them allows you to avoid not only senseless shadows, but also to avoid the dreaded sticker effect.
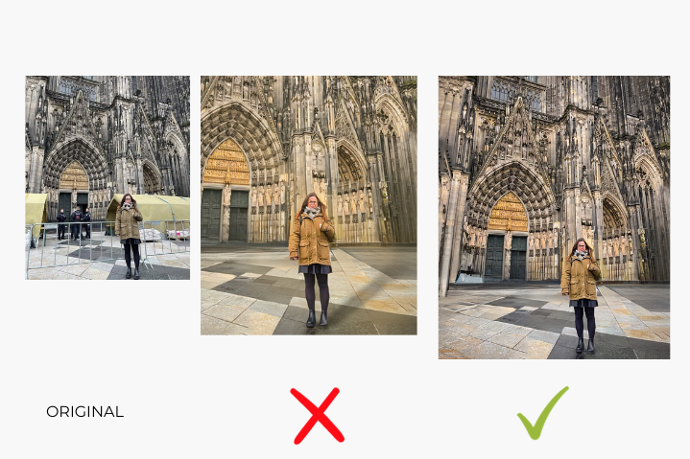
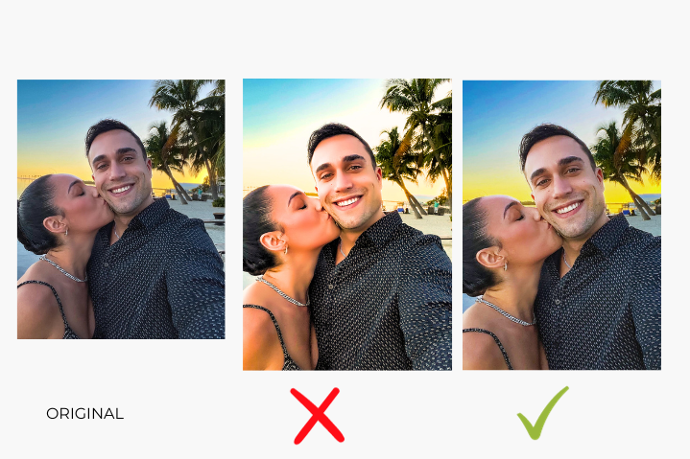
Overexposure is another issue.
No one wants a bright, washed out photo. Bring back detail in highlights and midtones. You can also subtly darken the background to make the subject pop.
- Lower the exposure and highlights: the exposure and highlight sliders are your best friends here. Slide them to the left to lower the brightness and recover details in the highlights.
- Adjust the white balance: an overexposed photo often has a blueish tint, so adjust the white balance to warmer tones to balance it out.
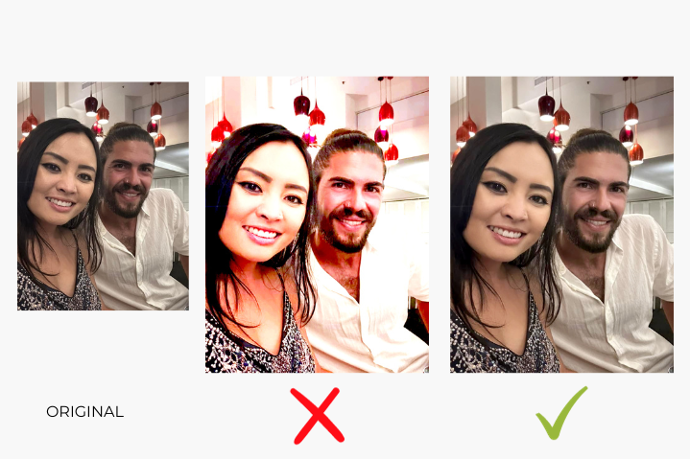
- Recovery and fill light tools: recovery can help bring back details in the highlights, while fill light brightens up the midtones and shadows without overexposing the highlights further.
- Dodge and burn or adjustment brush tools: lighten specific overexposed areas by lowering the exposure just in those spots. You can also darken other areas to create better balance.
Enjoy reading and have a good photo editing!
There is a new support page here!
Let's check!
Error-Free Retouching