Are you ready for the last two exciting new Pro service options? They will are available to help consumer showcase his subjects like never before.
First of all, a summary of all the new features:
- Crop
- Skin Retouch
- Professional
- Food
- Vintage
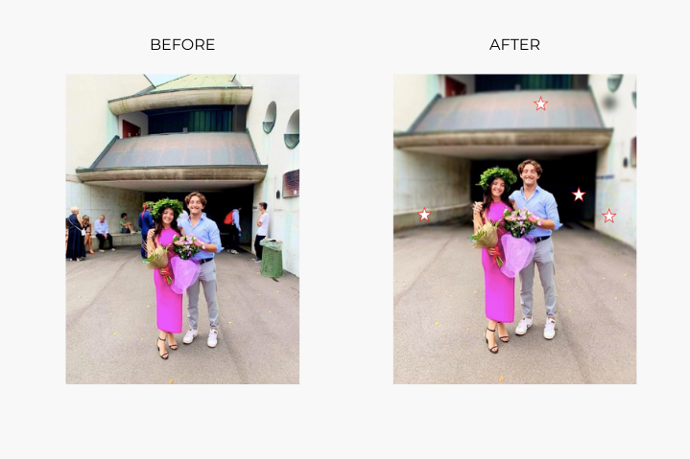
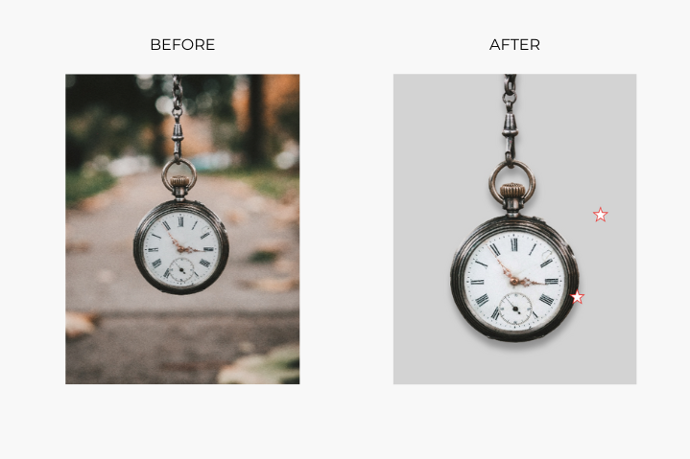
- Only You: allows you to isolate subjects by removing distracting background elements.
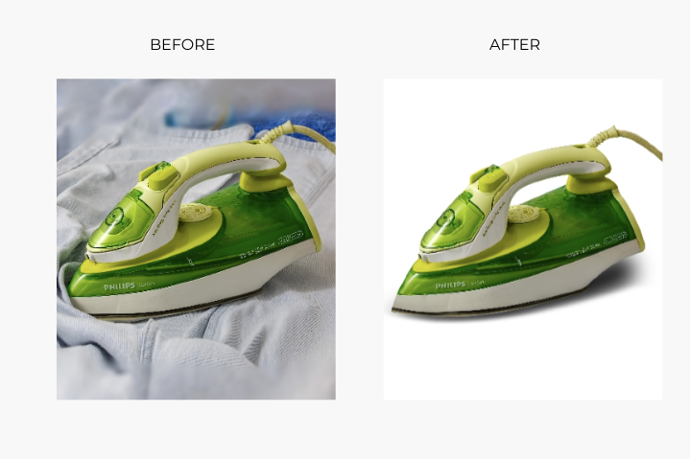
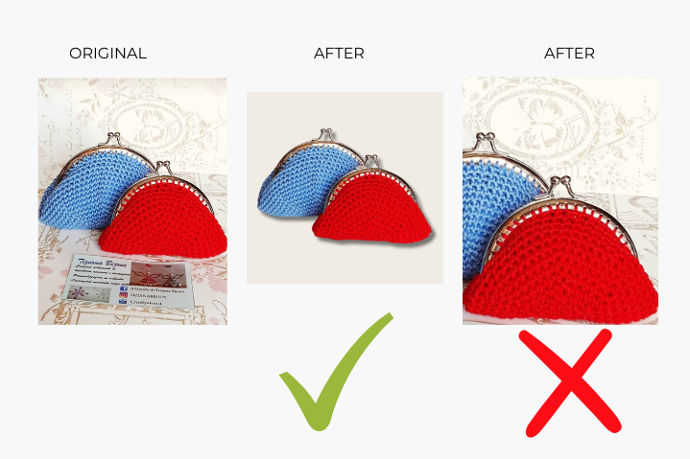
- Selling Items: takes it a step further by removing the background completely, leaving just your subject on a transparent background.
Only You
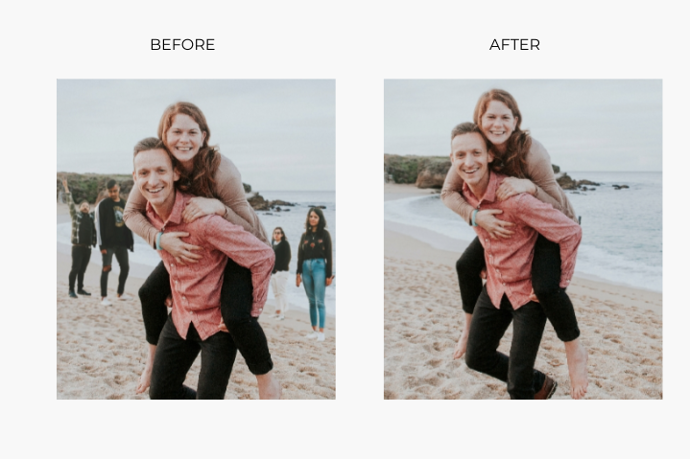
By removing distractions in the background and foreground, you can achieve an Only You effect that puts all the focus on your subject.
- Eliminate clutter: go through your photo and get rid of anything distracting around the edges of the frame. Look for spots, marks or debris and clear them. A clean background free of clutter and mess will make your subject pop.
- Blur and fade: you can ently blurring the background to separate your subject from what's behind. Use the blur tool, but it must be subtle - we want a gradual fade, not a harsh line of demarcation.
- Brighten your subject: selectively lightening and brightening your subject. Use adjustments like levels, brightness/contrast or dodging to make your subject a touch lighter than the surrounding area. Just be sure not to overdo it! Subtlety is key.
- Frame your subject: frame your subject within the frame for maximum impact. Position them in the center if there are no distracting elements, or use the rule of thirds. Leave extra space in front of the subject to give the impression they have somewhere to "move into". Cropping in tight around the subject can also work well, removing excess background for a more concentrated effect.
Selling items
When it comes to product photography, the image is everything. By focusing the subject and eliminating distractions, you can transform an ordinary shot into a crisp, clean image that highlights what really matters—the product!
- Removing the Background: first, extract your item from the background. Use the “quick selection tool” to roughly select the subject, then switch to the “refine edge brush” to fine-tune the edges. Check “smooth” and “feather” to soften any hard edges.
- Choosing a Color: select a solid color background that complements your product. For most items, a medium gray, white, or light color works well. Remember, the background should enhance without distracting.
- Adding Shadows: drop shadows create depth and dimension. Adjust the shadow's opacity, size, and blur to mimic natural lighting. For a realistic effect, set the shadow color to a darker shade of your background color.
- Brightening Your Image: bump up the brightness and increase the contrast. This makes your product pop and captures the viewer’s attention. Be careful not to overexpose the image.
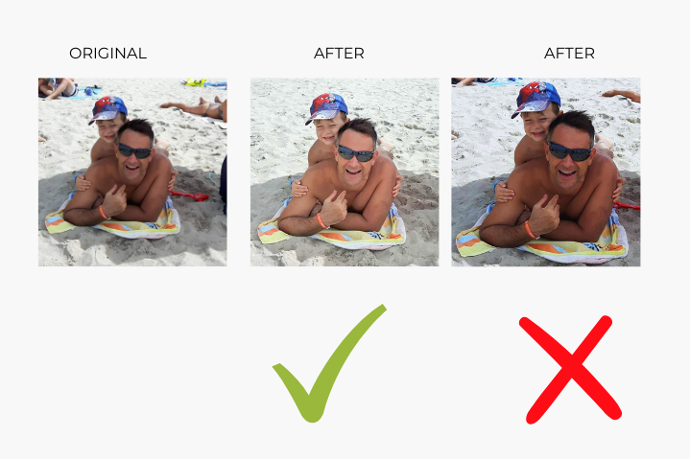
What can go wrong?
Pay attention: you still have to maintain a natural effect, and avoid the sticker effect!


Enjoy reading and have a good photo editing!
Do not worry if you forget something,
here you can find all the manuals
Isolate Your Favorite Subjects