A subject cropping can be a fussy and difficult action, but with a few simple tools and techniques, you can quickly and easily cut out subjects for composites, collages, or to place on new backgrounds.
From using the Quick Selection tool to fine-tuning your selection with Refine Edge you'll be cropping out subjects like a pro.
Let's get started!
Boosting Landscape could be helpful with: Pro services and Fast.
The Basics
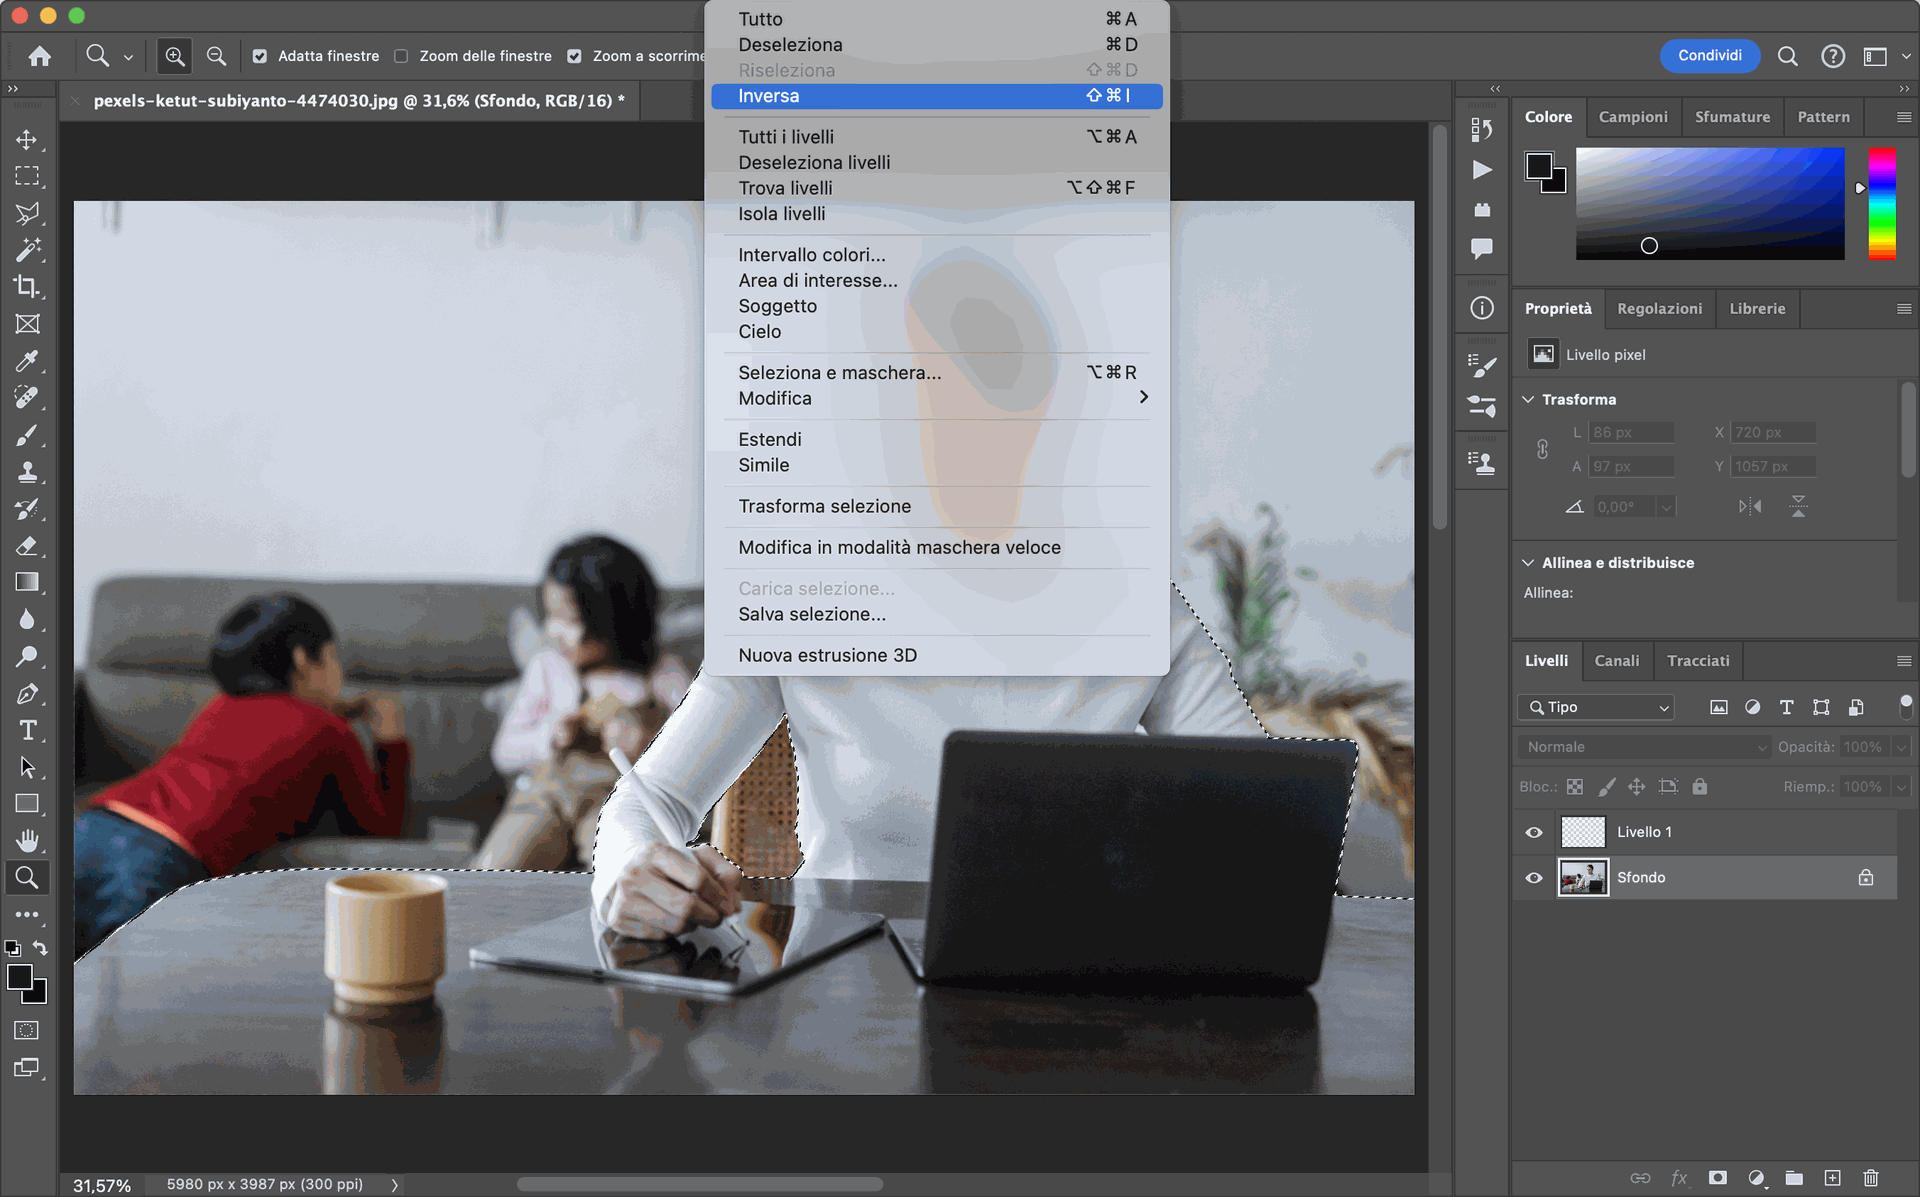
Starting from the base, after opening our image in CameraRaw, we select the layer with our subject, select the subject and invert the selection.
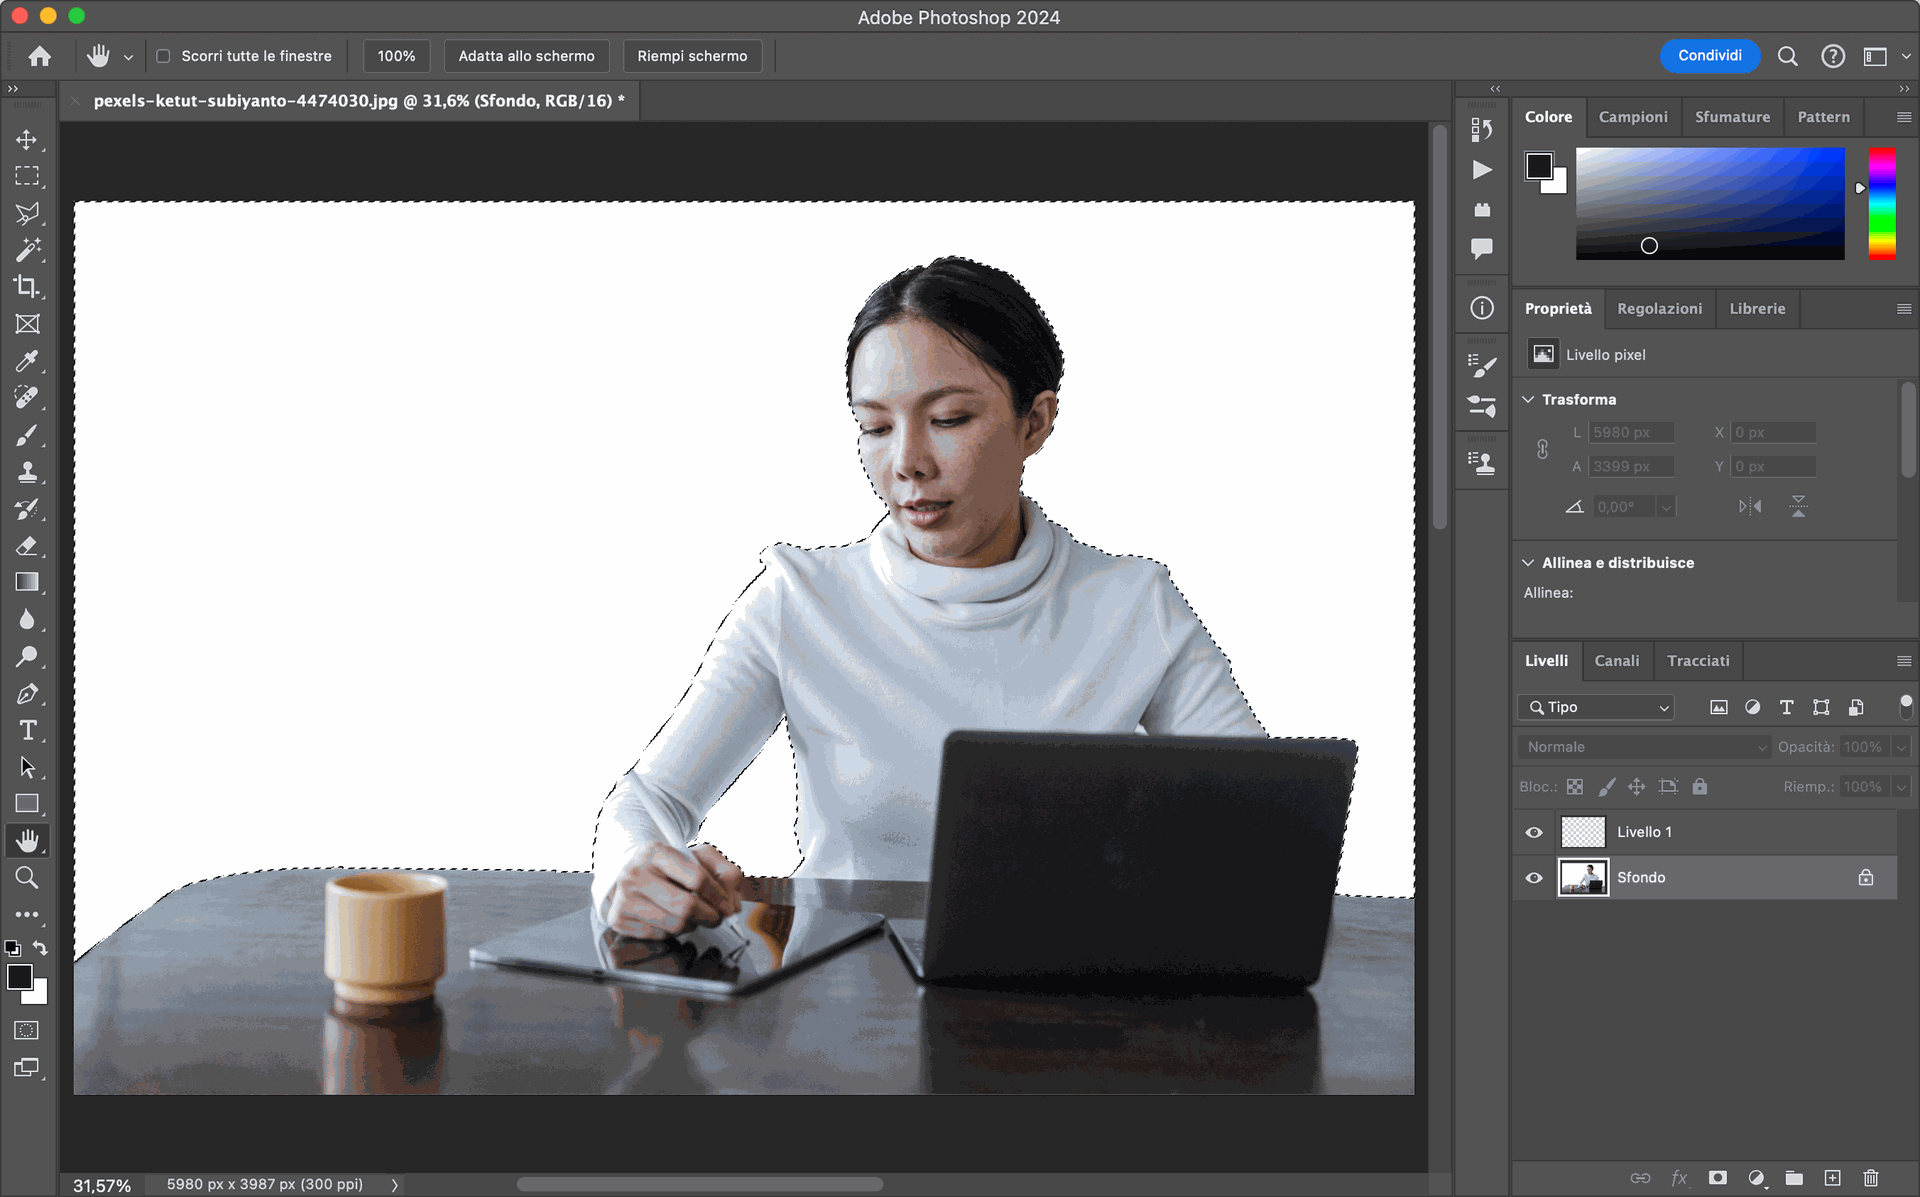
With the Eraser Tool, we remove the entire background.
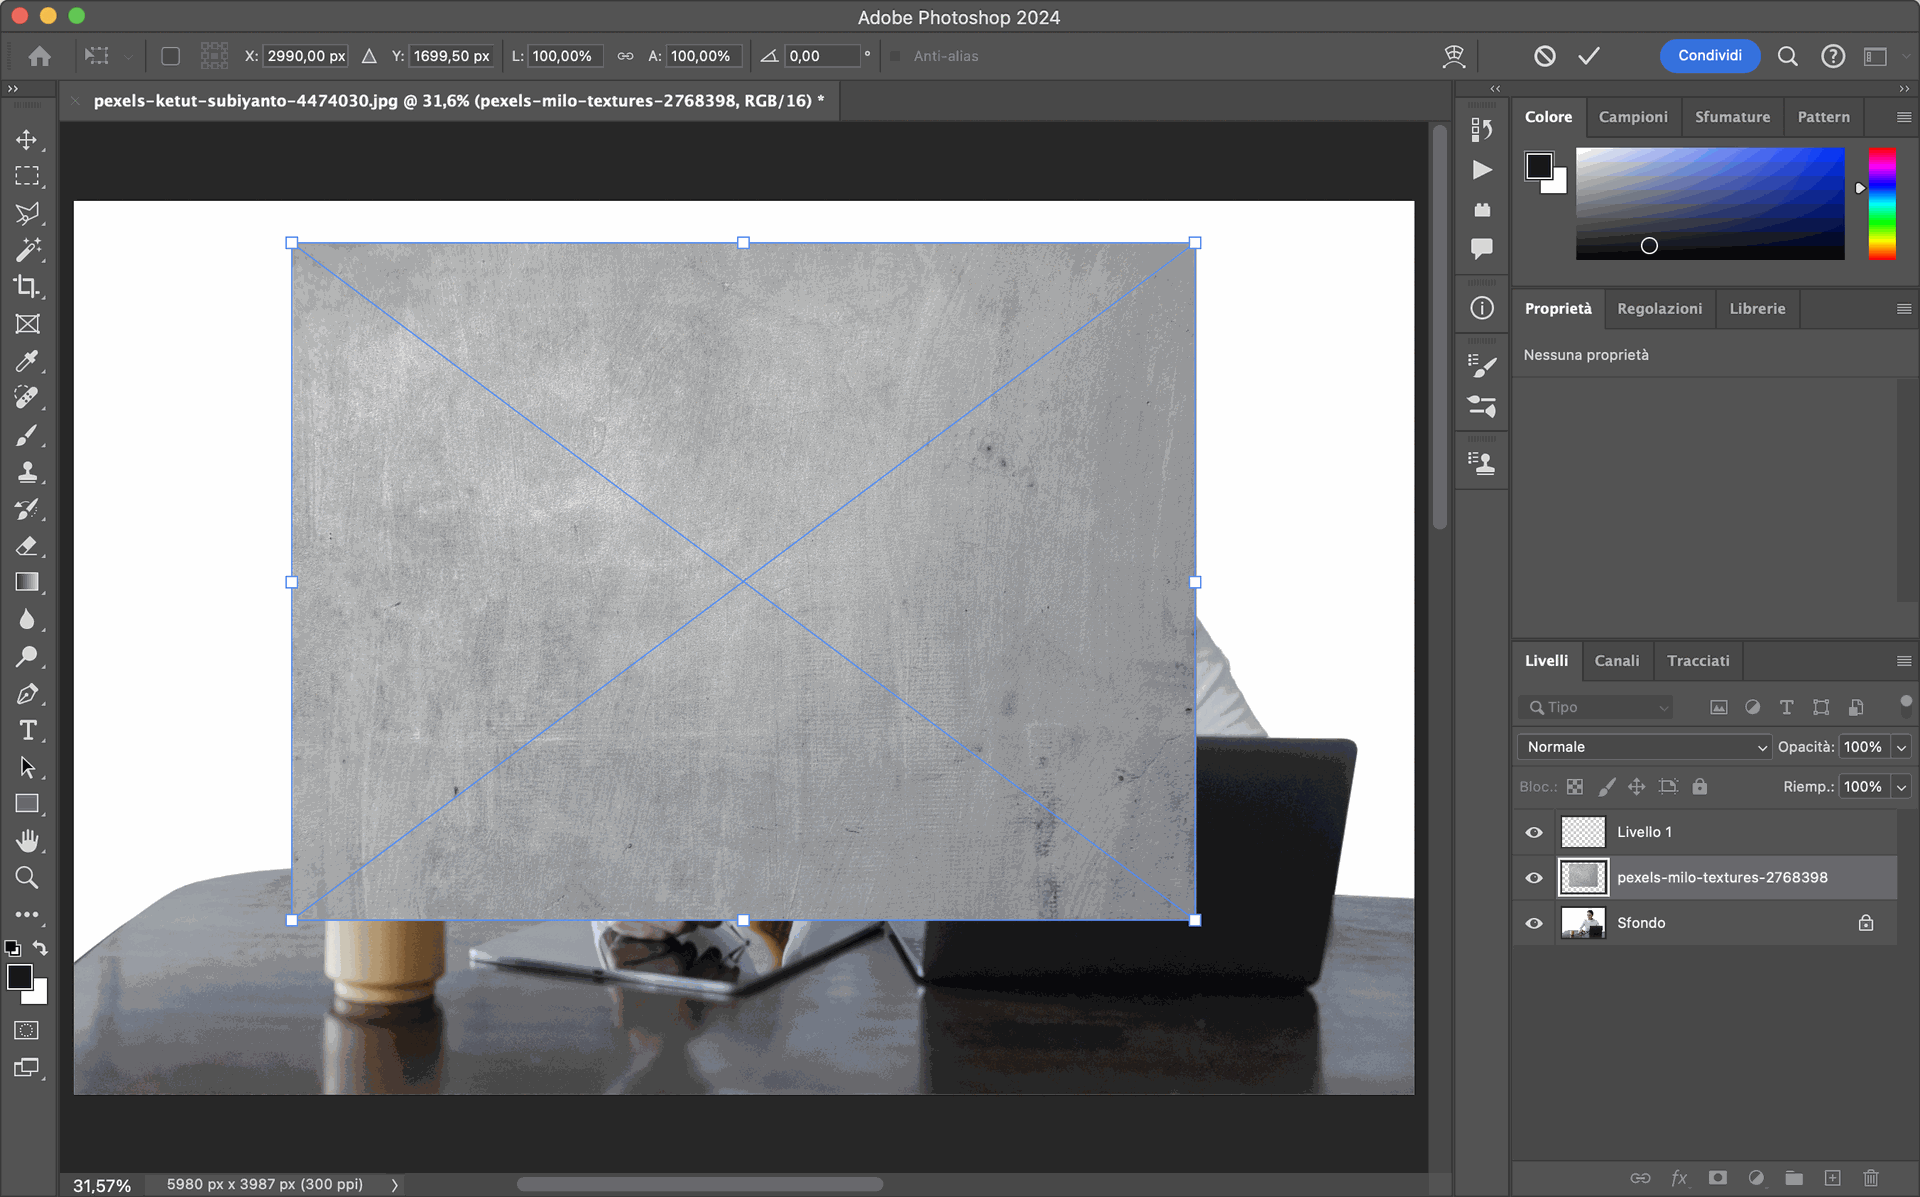
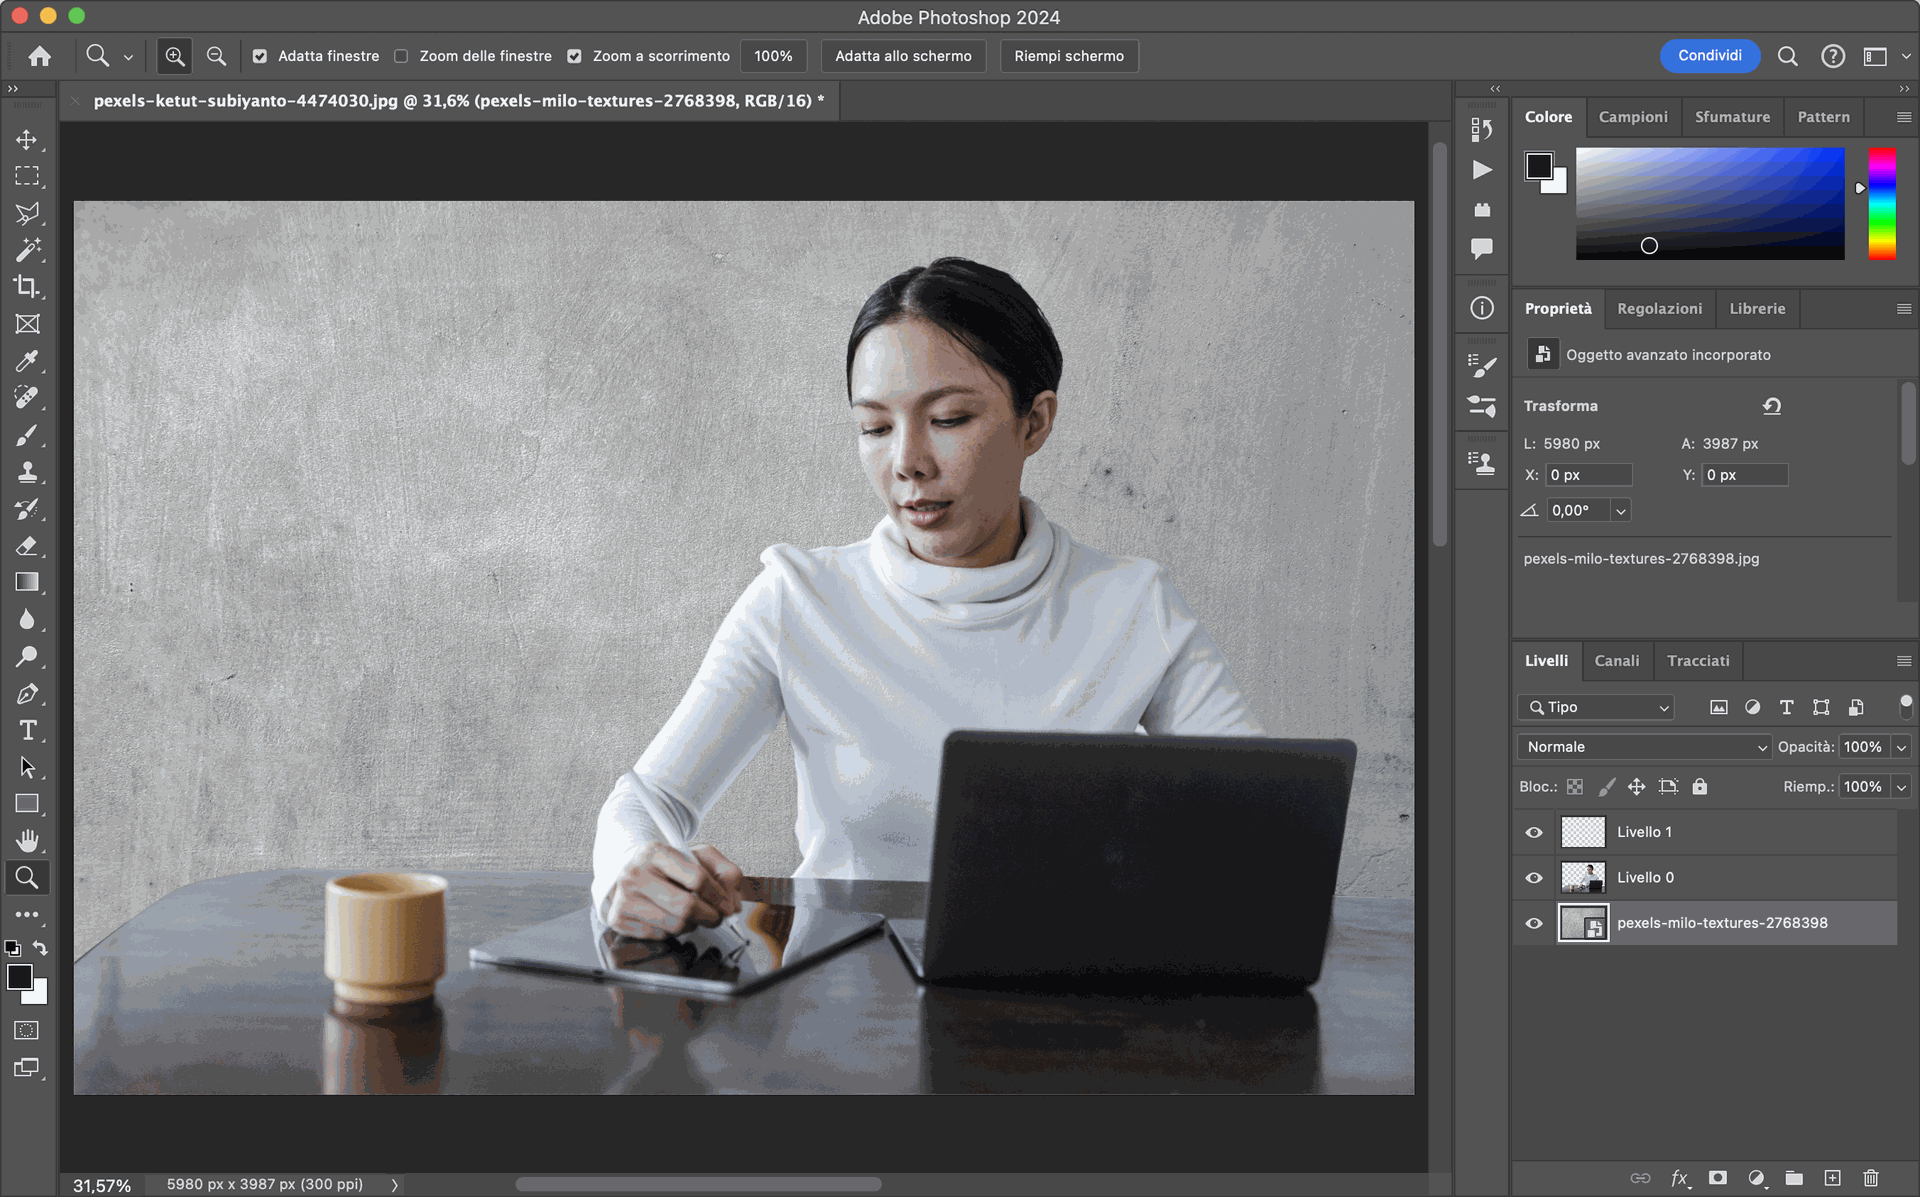
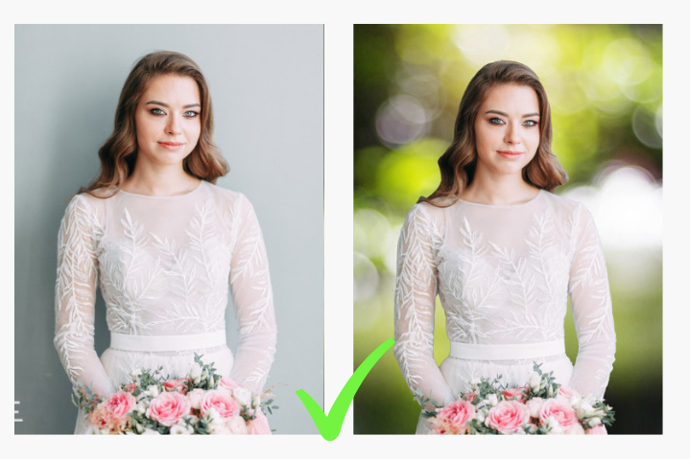
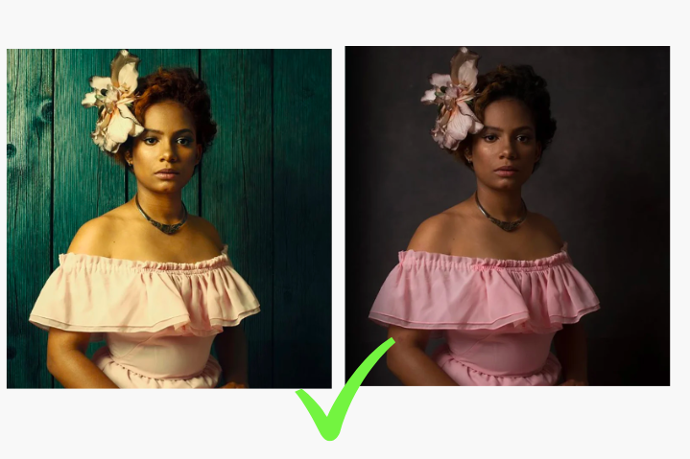
At this point we can import a new background, if necessary, to change the atmosphere of our photo, make it more professional or suitable for sale. We enlarge our neutral background throughout the image and place it below the subject level.
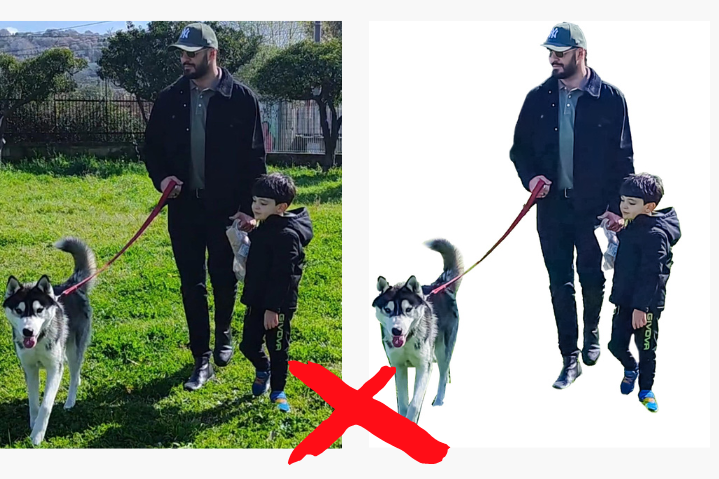
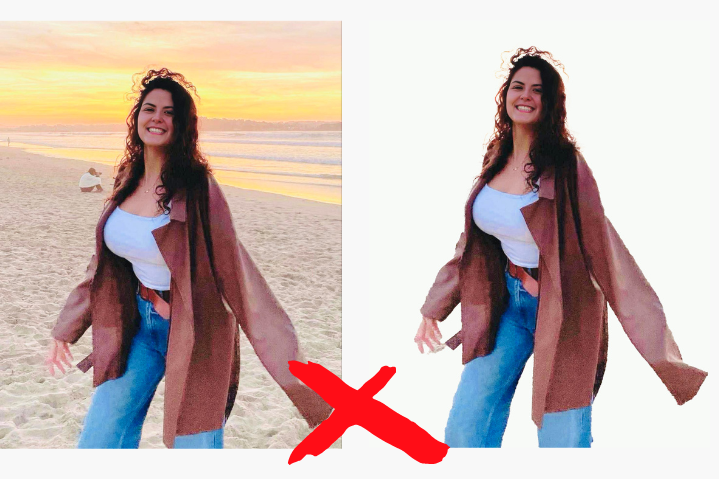
It’s good to remember that not all photos lend themselves to this kind of cropping.
Even after refining your selection, double check that it looks accurate. Zoom in to ensure no unwanted spots are included. Also check that no parts of your subject are left out. It’s easy to miss small details, so scrutinize the edges of your selection. Make any final touch-ups needed before moving on to the next step in your editing process.
With practice, you'll be making perfect selections in no time. These pro tips will set you up for Photoshop success. Let me know if you have any other questions!.
So get creative, have fun, and make your photos shine.
Enjoy reading and have a good photo editing!
Do not worry if you forget something,
here you can find all the manuals



How to Quickly Cut Out Subjects