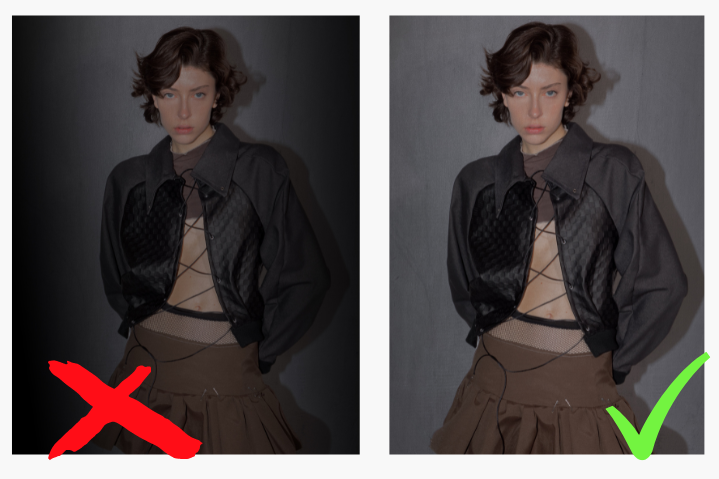
Dark, muddy halos surround your subjects, totally ruining the shot. Vignetting is an art, but one you can master. With a few simple tips, you'll get that dramatic, professional look without the nasty dark edges. Stick around to learn the easy way to vignette for eye-catching images.
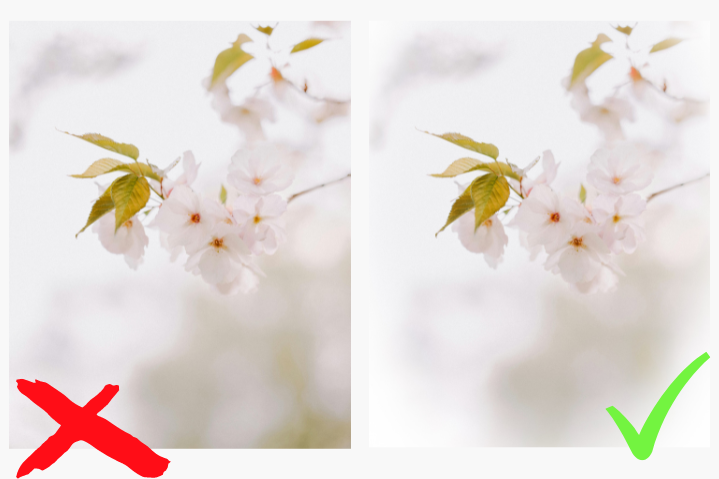
Vignetting, or darkening the edges of your photo, can be an effective way to draw attention to your subject. But do too much, and you'll end up with an unnatural-looking photo with dark, murky corners.
Let's get started!
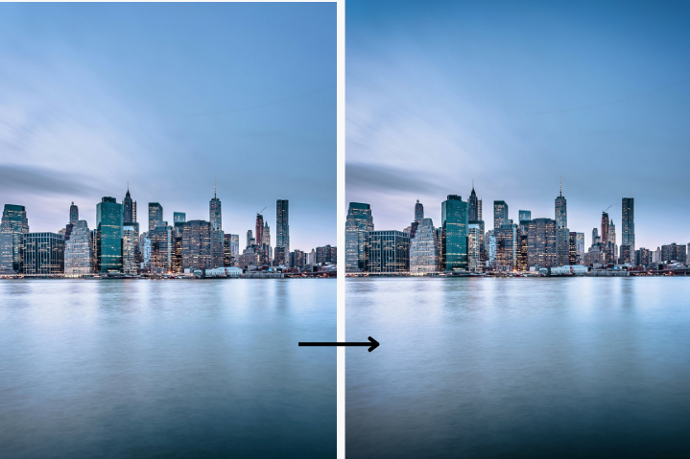
The vignetting can give a dramatic or professional effect, depending on how it is used.
What Is Vignetting?
Vignetting refers to the gradual darkening of an image towards the edges and corners. In photography, vignetting is often considered an imperfection, but when used intentionally and subtly, it can draw attention to your subject and add visual interest.
Step by step
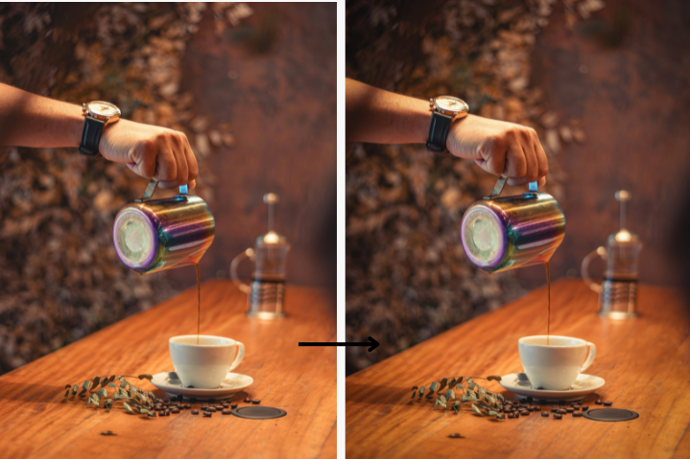
Starting from the base, after opening our image in CameraRaw, we choose the effects and the we select the vignetting. With small touches, slowly add the vignetting. Don’t overdo it because too much could ruin the atmosphere of the image. We can set some parameters such as the midpoint of the vignetting, the gradient, or the roundness of the vignetting.


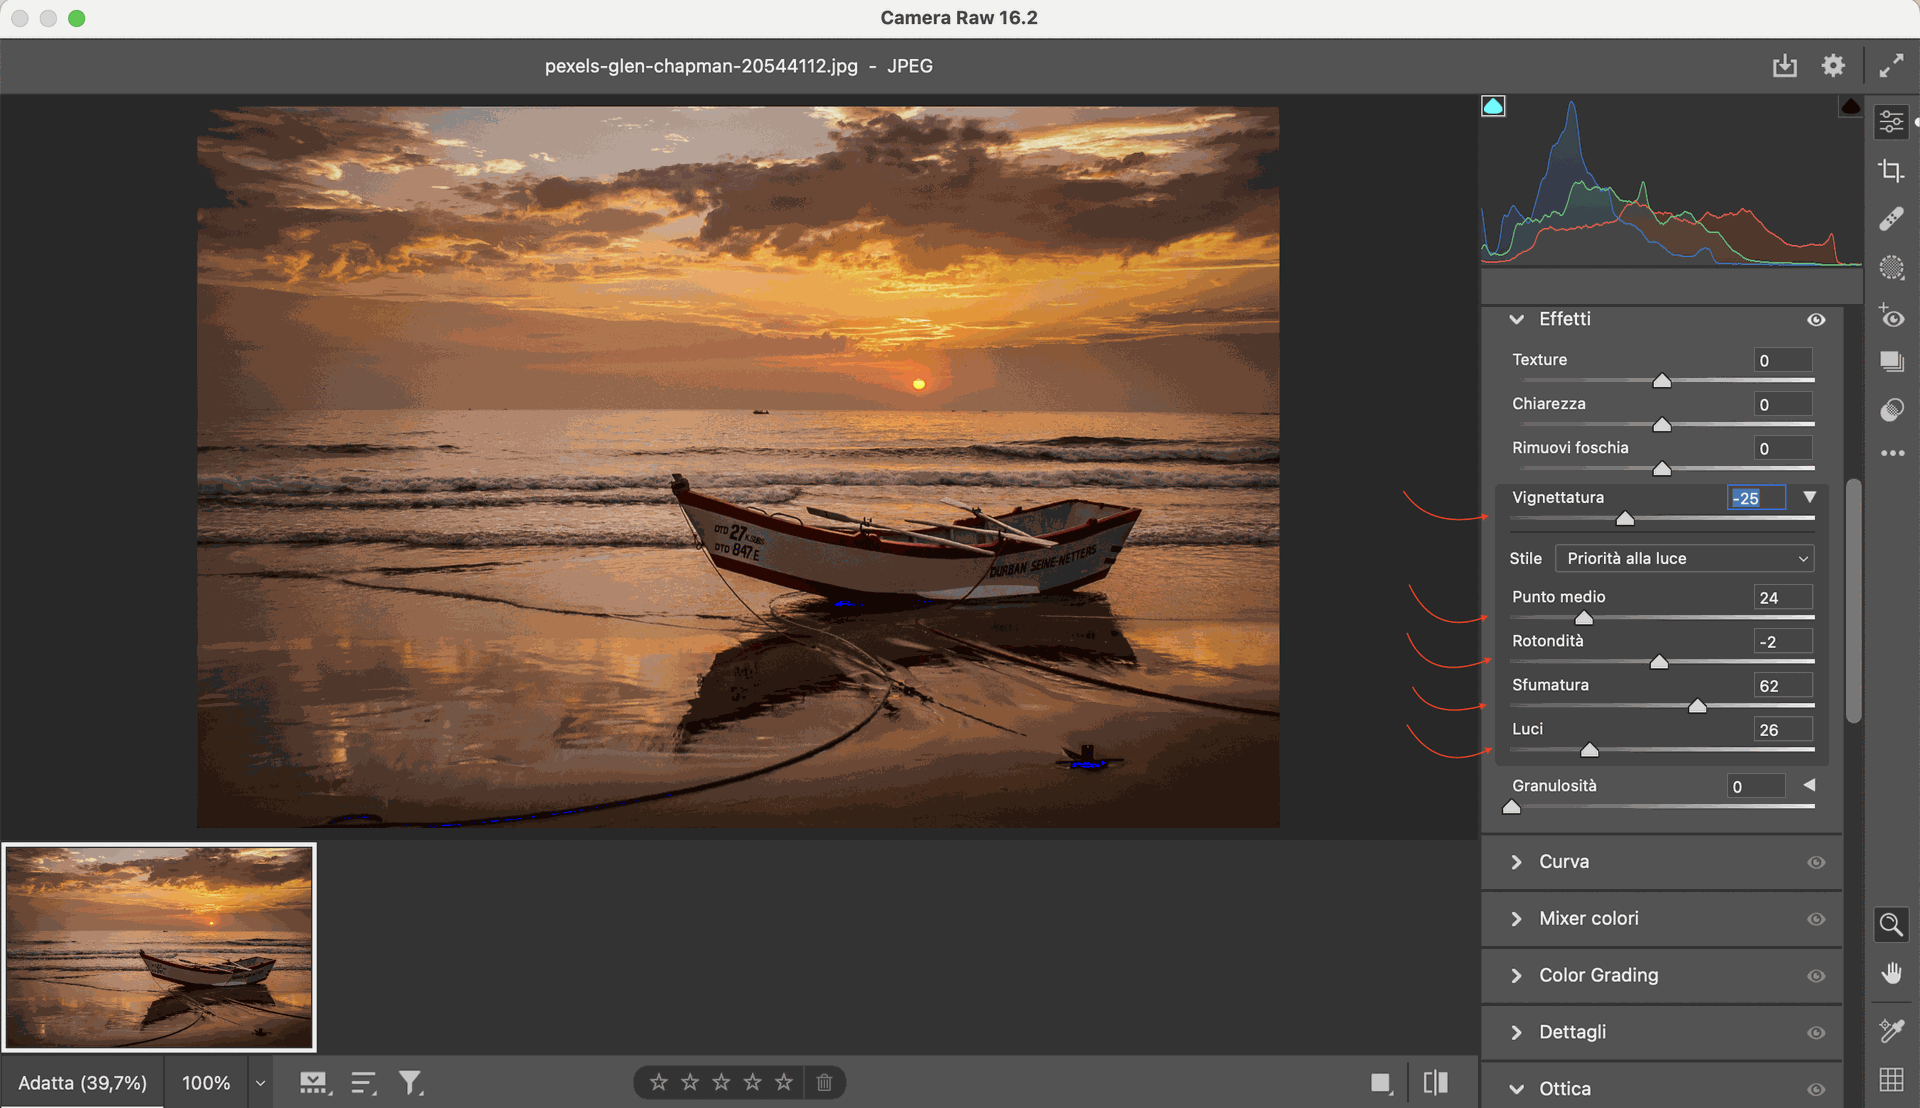
- Adjust the Midpoint: the midpoint slider controls how far into your image the vignette effect reaches. If it’s too low, you’ll get an obviously fake, Instagram-like vignette. Too high, and the vignette won’t be noticeable.
- Roundness: the roundness slider allows you to adjust the shape of your vignette from a circle to an oval. Lower values give an oval vignette, higher values a more circular vignette.
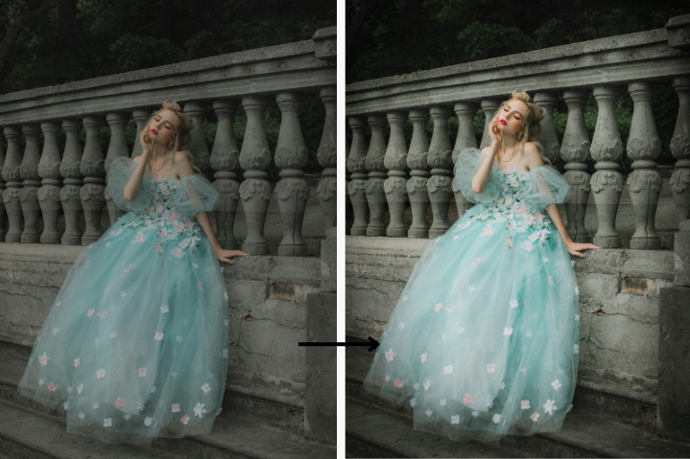
In some photos, you may want to apply extra vignetting to specific areas to enhance the composition. This spot vignetting, combined with an overall subtle vignette, leads to very natural-looking results.
With some practice, you’ll be applying beautifully subtle vignettes to your photos in no time. The key is to start light, evaluate the results, and make small adjustments. Master the vignette for a lifetime of perfectly framed photos.


So there you have it - the basics of mastering vignettes without getting those nasty dark halos. It just takes a few simple steps to get it right. Adjust that feathering, watch your curves, and blend those layers.
Just remember - go easy on the contrast and keep the shadows subtle. You don't want to overdo it and make the image look fake. A delicate vignette can really make your photos pop while keeping things looking natural. Now get creative and see what you can do with this handy little technique. Your photos will thank you for it.
So get creative, have fun, and make your photos shine.
Enjoy reading and have a good photo editing!
Do not worry if you forget something,
here you can find all the manuals
No more dark halos