Achieving realistic retouching that enhances while still looking natural is one of the biggest challenges for retouchers. The secret is paying attention to the little details - crafting subtle, believable shadows and maintaining a respect for the lighting and tones already present in the image.
Your images will glow rather than look like a haphazard collection of cutout facial features. Read on to finally master the art of sticker-free retouching through sensible shadows and a light touch.
Avoiding the Collage Effect:
To avoid the dreaded “collage effect” in your retouching, the key is blending.
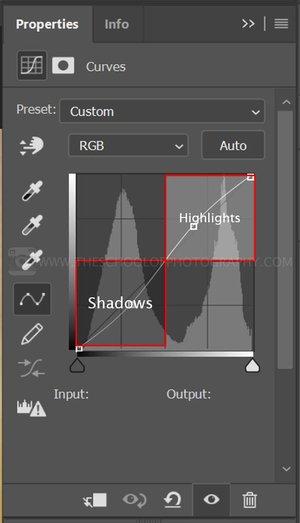
- Lighting and Shadows: The direction and intensity of light falling on your subject creates shadows, highlights and midtones.
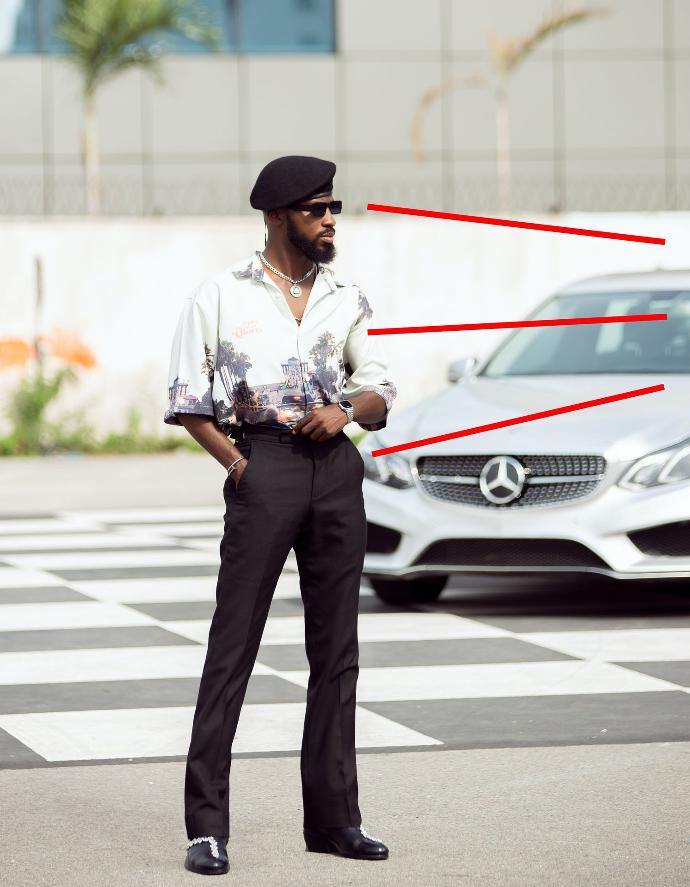
Carefully observe how the light interacts with your image before making any changes.
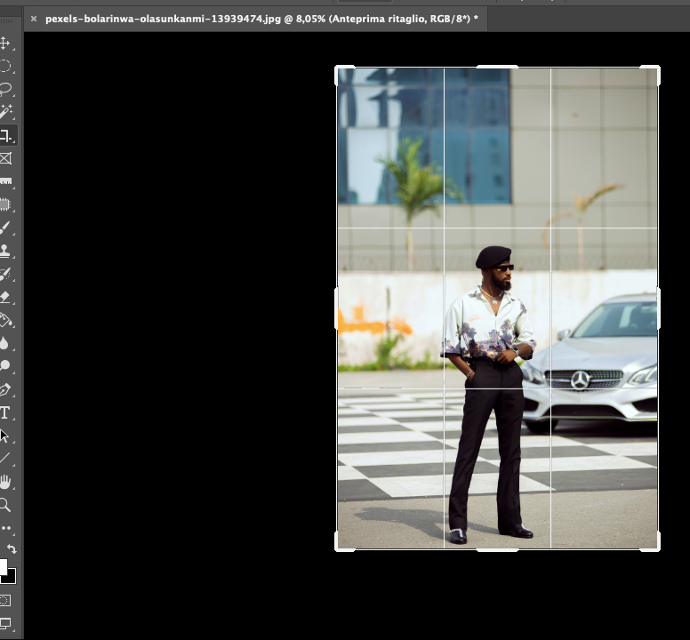
Then, as you work, frequently zoom out to check how your retouching is affecting the overall lighting.

Make sure any areas you’ve retouched still match the original lighting and shadows.
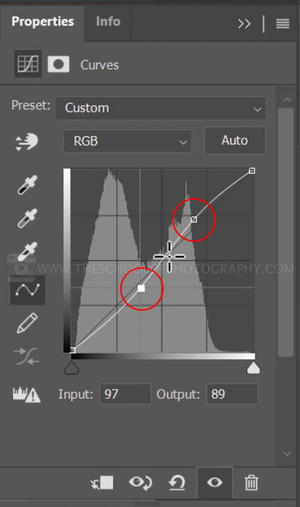
- Respecting the Original Colouration: Closely examine the colours and tones in your original image. Note how they vary in different areas and match that in your retouching. Subtle variations in colour are what make an image look realistic. If you apply an all-over colour change or tint, it will look obviously manipulated; make localised colour adjustments, using tools like colour balance, curves and selective colour. And remember, less is more - aim for small, gradual changes.
Design
From design concept to the showroom, create and manage workflows with better collaboration.
Gaming
VR takes immersive gaming to another level. From deep environmental interactions to puzzle solving.
- Soft Changes: Make multiple subtle changes rather than drastic ones. Use soft brushes, especially when working near edges or contours. Hard edges are a dead giveaway that an image has been retouched.
Creating Natural Shadows
To avoid the dreaded ‘sticker effect’ in your retouching, creating natural-looking shadows is key. Shadows follow the contours of the subject and depend entirely on the direction of the light in the image.
- Following the Light: Look closely at the highlights and shadows already present in the image. Notice how they flow with the curves of the face and the direction of the lighting. Mimic the quality, intensity, and placement of the existing shadows. Your added shadows should blend right in.
- Shaping and Blending: Use a soft, medium opacity brush to shape new shadows, starting lighter and building up gradually. Blend the new shadow into the surrounding areas so there are no visible edges or texture changes. The key is a gradual, imperceptible transition from light to shadow.
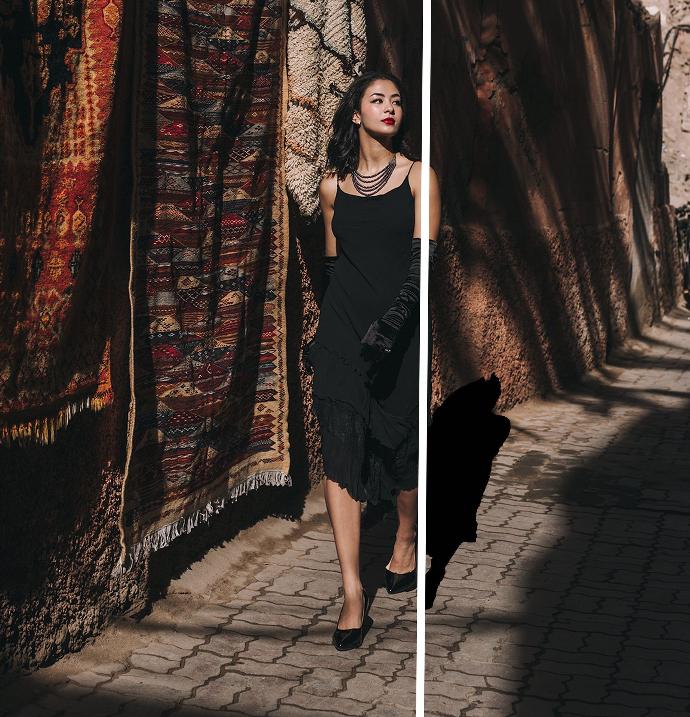
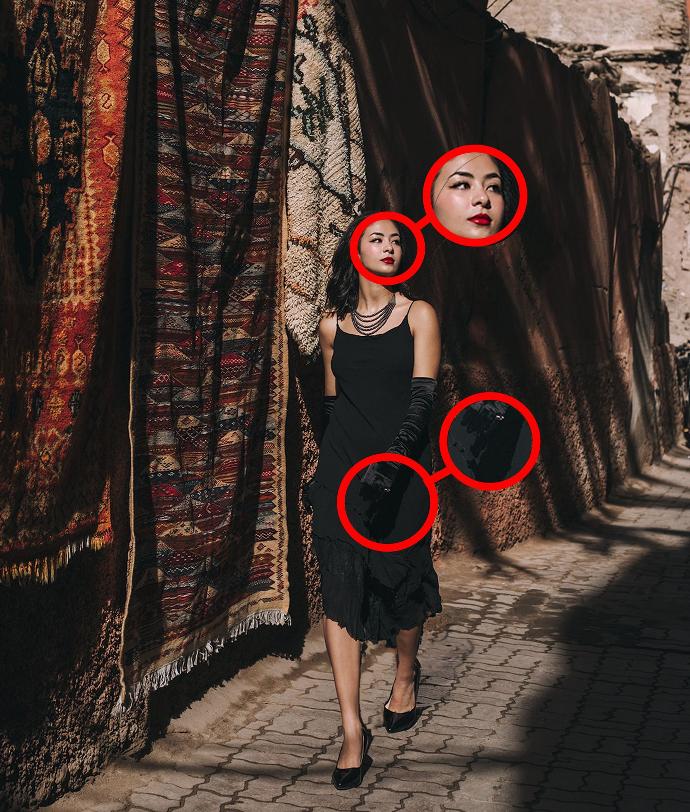
The key is developing an eye for what natural, subtle shadows should look like and exercising restraint. When in doubt, take a step back – you can always add more, but you can’t take it away! With the right technique and a light touch, you’ll be eliminating that sticker effect in no time.
Respect Original Highlights and Shadows
- Watch the Edges: Pay close attention to the edges of any adjustments you make. Harsh, abrupt changes in tone or color are a dead giveaway of retouching and create an unnatural “sticker effect”.
- Mimic the Overall Lighting: Notice the direction and intensity of shadows and highlights in the original image. Any retouching you do should follow the same pattern.
Think about the overall context and intended mood or style of the image. Retouch to enhance this, not work against it.


Enjoy reading and have a good photo editing!
Do not worry if you forget something,
here you can find all the manuals
Respect for lighting