This ultimate guide will transform selfies and photos into glamorous works of art. We'll show you the secret techniques the pros use to subtly enhance skin and erase imperfections without that dreaded plastic look.
So get ready to say goodbye to bad skin days and create stunning portraits that exude confidence.
Let's get started!
The Basics
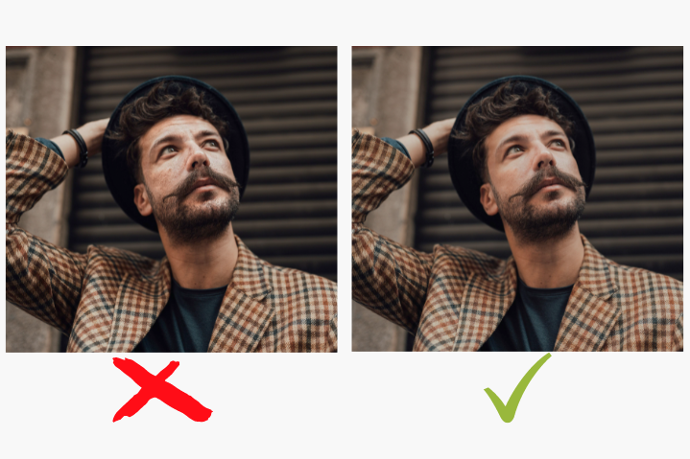
- Perfecting Skin Tone: getting the skin tone just right is key to natural-looking retouching. Use the Color Balance tool to adjust the overall tone. Warm it up or cool it down based on your subject's natural undertones. Fine-tune specific areas with the Dodge and Burn tools. Lighten under-eye circles and any redness, then darken any uneven areas.
- Smoothing Skin: the Healing Brush and Patch tools are your new best friends. Gently brush over blemishes, scars, and pores to blend them in with the surrounding skin. Be careful not to overdo it and end up with an unnatural, plastic look.
- Enhancing Eyes: eyes are the windows to the soul, so make them pop! Use the Dodge tool to brighten the whites of the eyes and any catchlights. Carefully darken under-eye circles and the outer corners of the eyes for subtle depth and definition. Add a touch of brightness to the irises to make the color more vivid.
- Perfecting Lips: use the Lasso tool to select and darken the outer edge of the lips to create depth. Apply the Blur tool on a low setting to soften any lip lines and imperfections. Use the Color Picker to choose a natural-looking lip shade and paint it on with the Brush tool for a perfect pout.
Avoid the Plastic Surgery Look
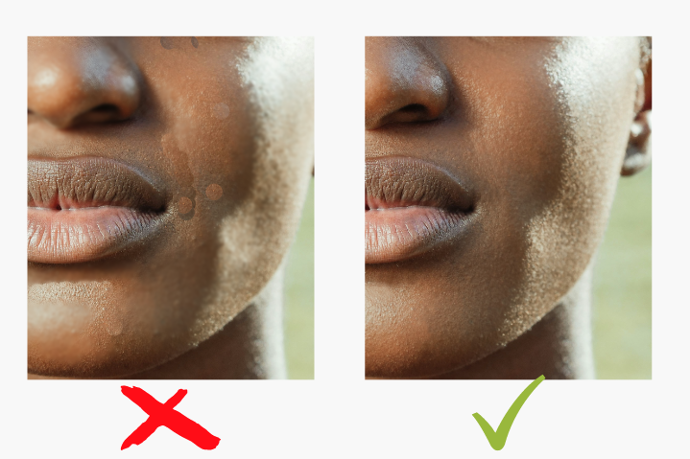
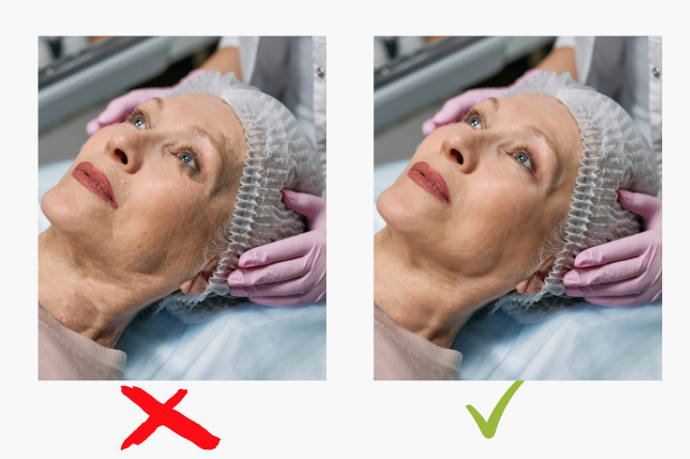
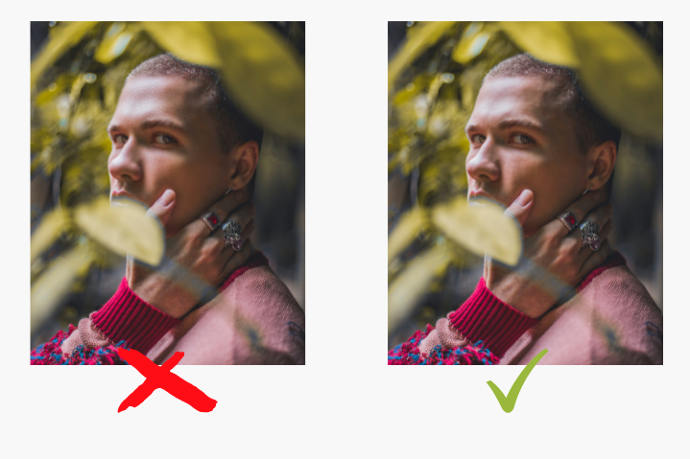
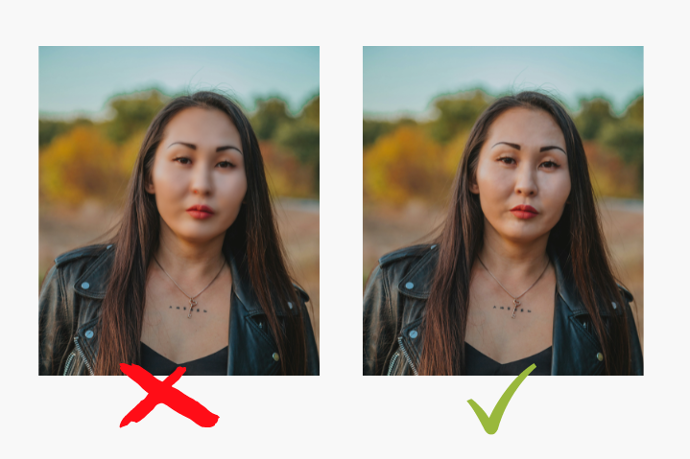
Achieving flawless yet natural-looking skin in Photoshop is an art form. You want to eliminate imperfections without making your subject look like a plastic doll. The key is subtlety. Take it slow and make small adjustments, constantly stepping back to view the overall effect.
- Healing Brush Tool: it seamlessly blends the texture and color of the area you’re retouching with the surrounding skin. Simply adjust the brush size and hardness for the area you want to retouch, then click and paint over spots, wrinkles or scars.
- Go Easy on Blurring: use it sparingly, if at all. The Healing Brush and Spot Healing Brush tools often work better. If you do use the Blur or Surface Blur tools, keep the effect extremely subtle. You only want to soften skin, not make it look out of focus.
- Adjust Color Gently: use the Color Replacement tool at a low opacity, to even out skin tones. Make several light passes rather than one heavy pass. Check your work with the before and after view to ensure skin still looks natural.

Common Skin Retouching Mistakes.
You were a little overzealous with the smoothing tool and now the subject looks like a wax figure! Don’t worry, we’ve all made skin retouching mistakes. The key is knowing how to fix them.
- Too Much Smoothing: to restore natural texture, use the history panel to undo some of the smoothing. Then, selectively paint back in texture and details with the clone stamp tool. Set the tool to “Current & Below” and a low opacity. Gently dab the texture back onto the skin.
- Loss of Skin Texture: if you’ve obliterated too much texture, you’ll need to rebuild it. Zoom into the problem area and study the surrounding skin, with a textured brush, meticulously paint back in details to match the surrounding skin.
- Harsh Lines and Edges: visible lines from the lasso, quick selection or pen tool ruin the natural look you’re going for. To soften lines, use the Blur tool, smudge tool or a soft eraser to gently fade the edge into the surrounding pixels.
With practice, you’ll develop an eye for subtle, natural-looking retouching. Undo when needed, study skin texture, and make small, gradual changes. Keep at it and you’ll be producing flawless, undetectable retouching in no time! Your models will thank you for it.
So get creative, have fun, and make your photos shine.
Enjoy reading and have a good photo editing!
Do not worry if you forget something,
here you can find all the manuals
Through the imperfections of the skin