Get ready to wow friends and family shoots with these magic editing tricks that will make bunnies and bonnets pop off the screen. With just a few clicks, you can transform the holiday memories into masterpieces.
Let's get started!
The Basics
As always, there are some steps to enhance every photos:
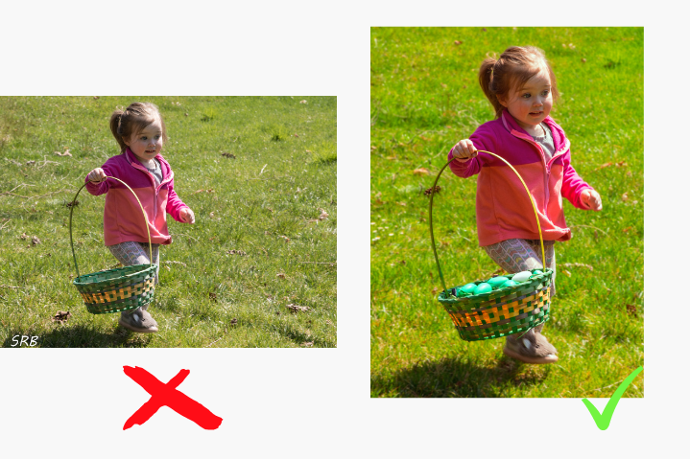
- Brighten Up Dull Colors: select the ‘Vibrance’ slider this will intensify the colors without changing the skin tones in your photo. Make sure not to oversaturate the image.
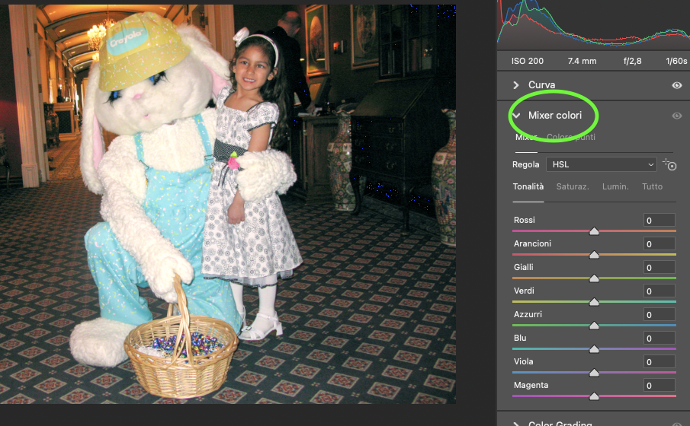
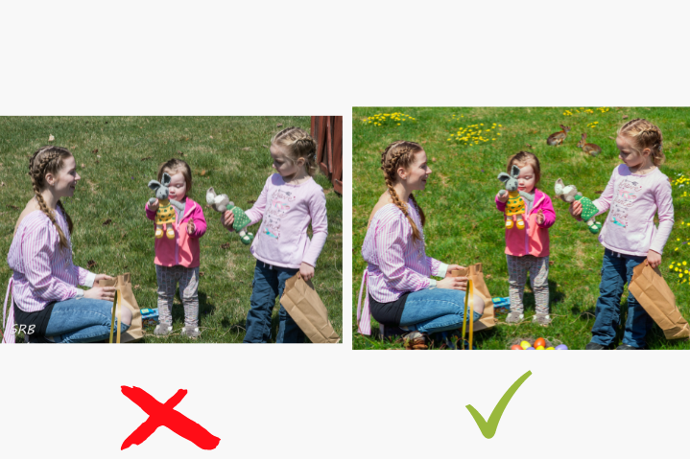
- Color Adjustment: if there’s one particular color you want to enhance, use the ‘Selective Color’ tool.
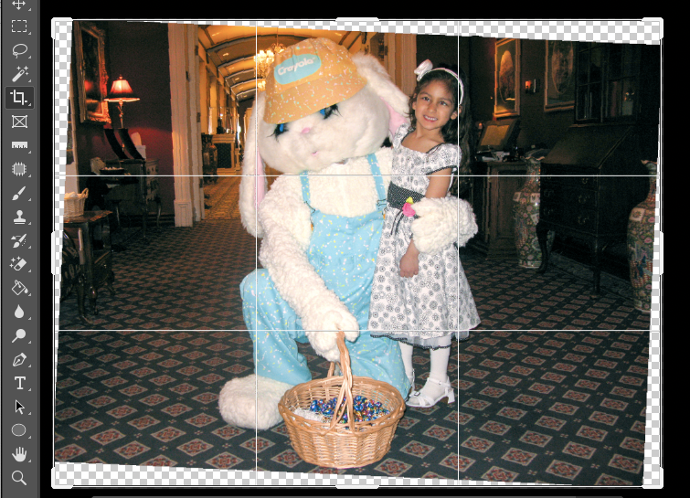
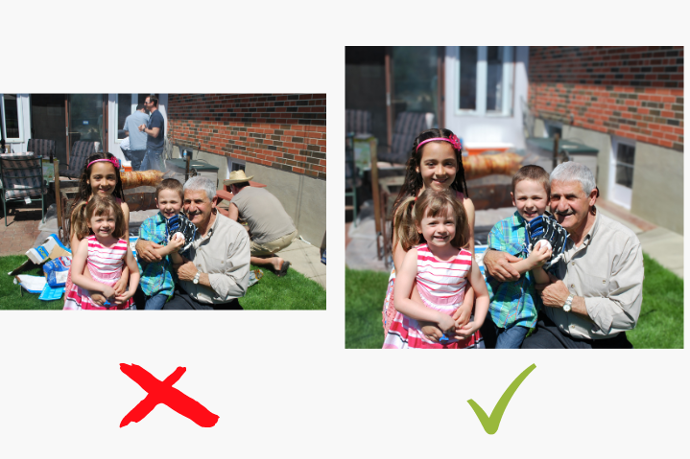
- Adjust the horizon and remove distraction: last but not least, remove from the background distraction, and blur it. and then adjust the horezon line.
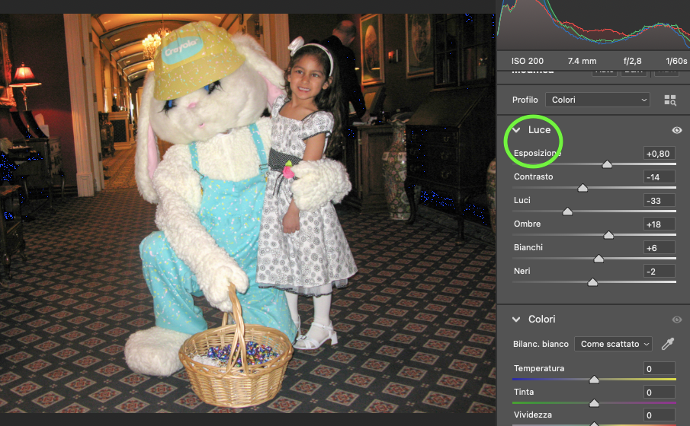
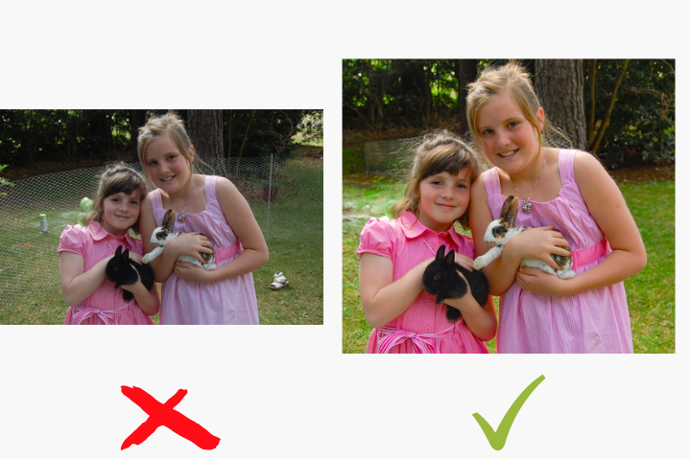
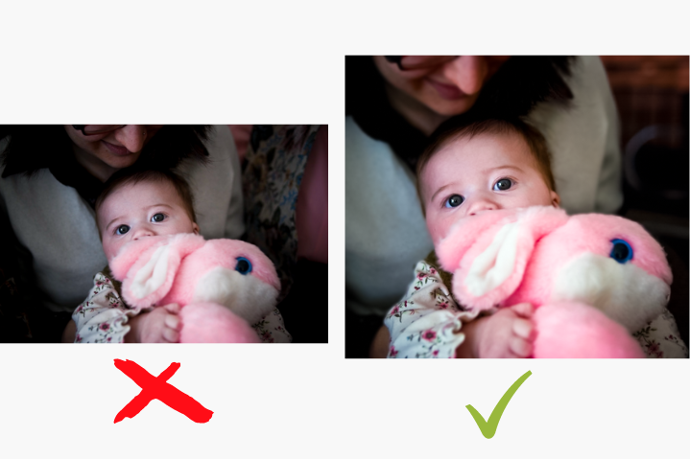
A bright, cheerful smile is perfect for an Easter photo, start with a low Exposure setting. Easter is all about vibrant colors, so don’t be afraid to enhance them in your photos! A quick skin retouch will make your subject’s complexion glow.
Magic Easter.
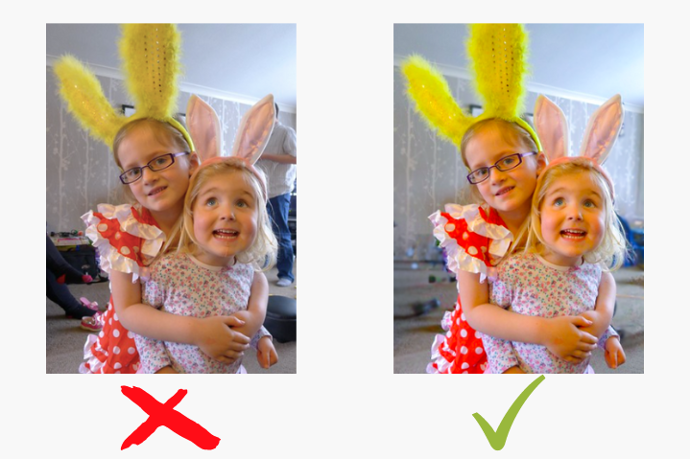
What’s an Easter photo without bunny ears or a floral crown? Have some fun adding decorative elements to your portraits. Place bunny ears, add a whimsical floral crown or paint on freckles for a playful touch.
Don’t be afraid to get creative—Easter photos should be fun and playful. Happy editing and hoppy Easter!
So get creative, have fun, and make your photos shine.
Enjoy reading and have a good photo editing!
Do not worry if you forget something,
here you can find all the manuals
Tricks for enhancing Easter photos